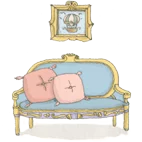
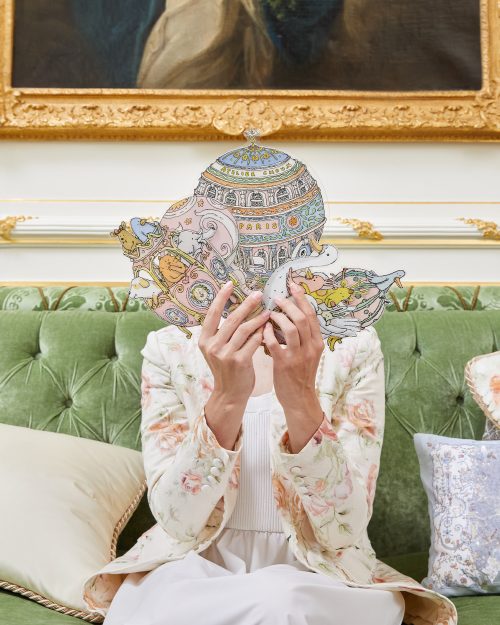
 Home Decor
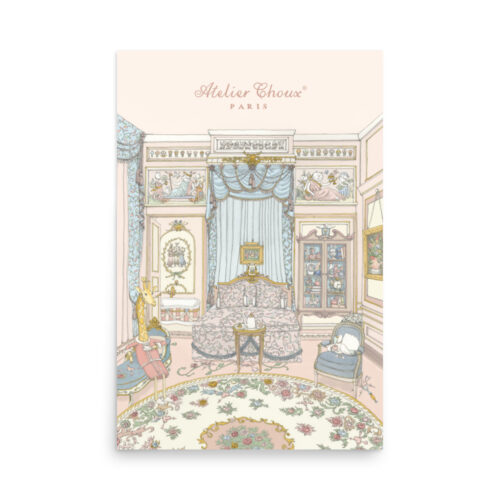

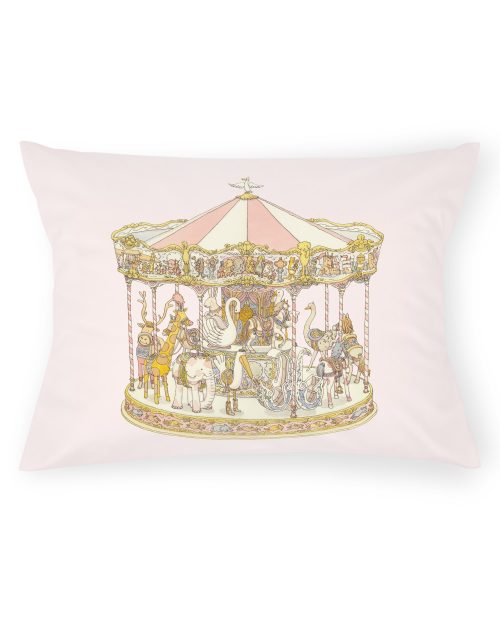
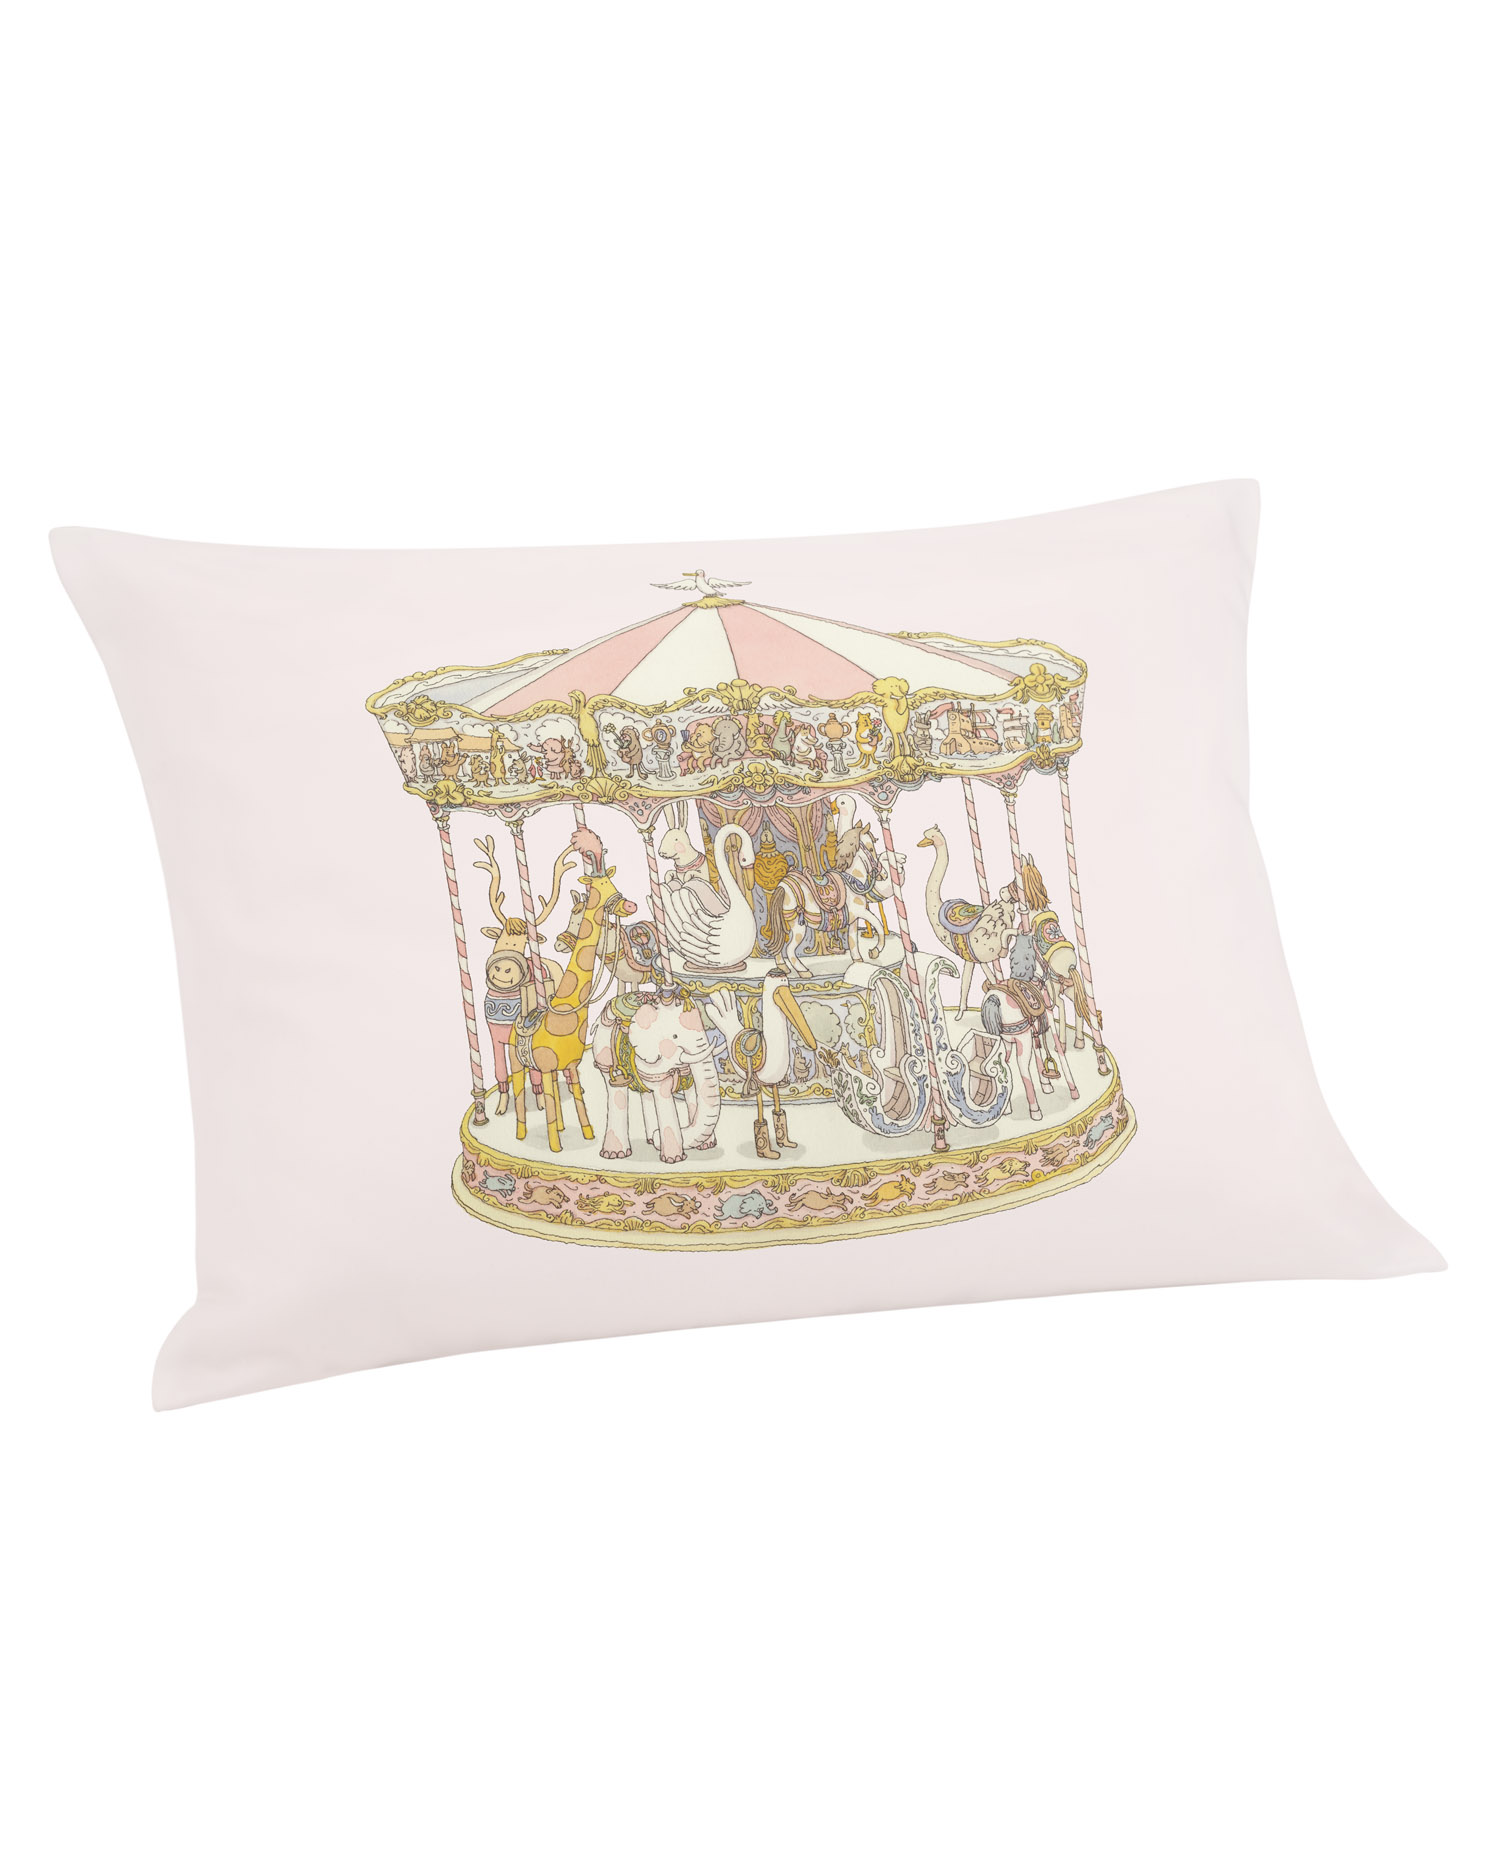
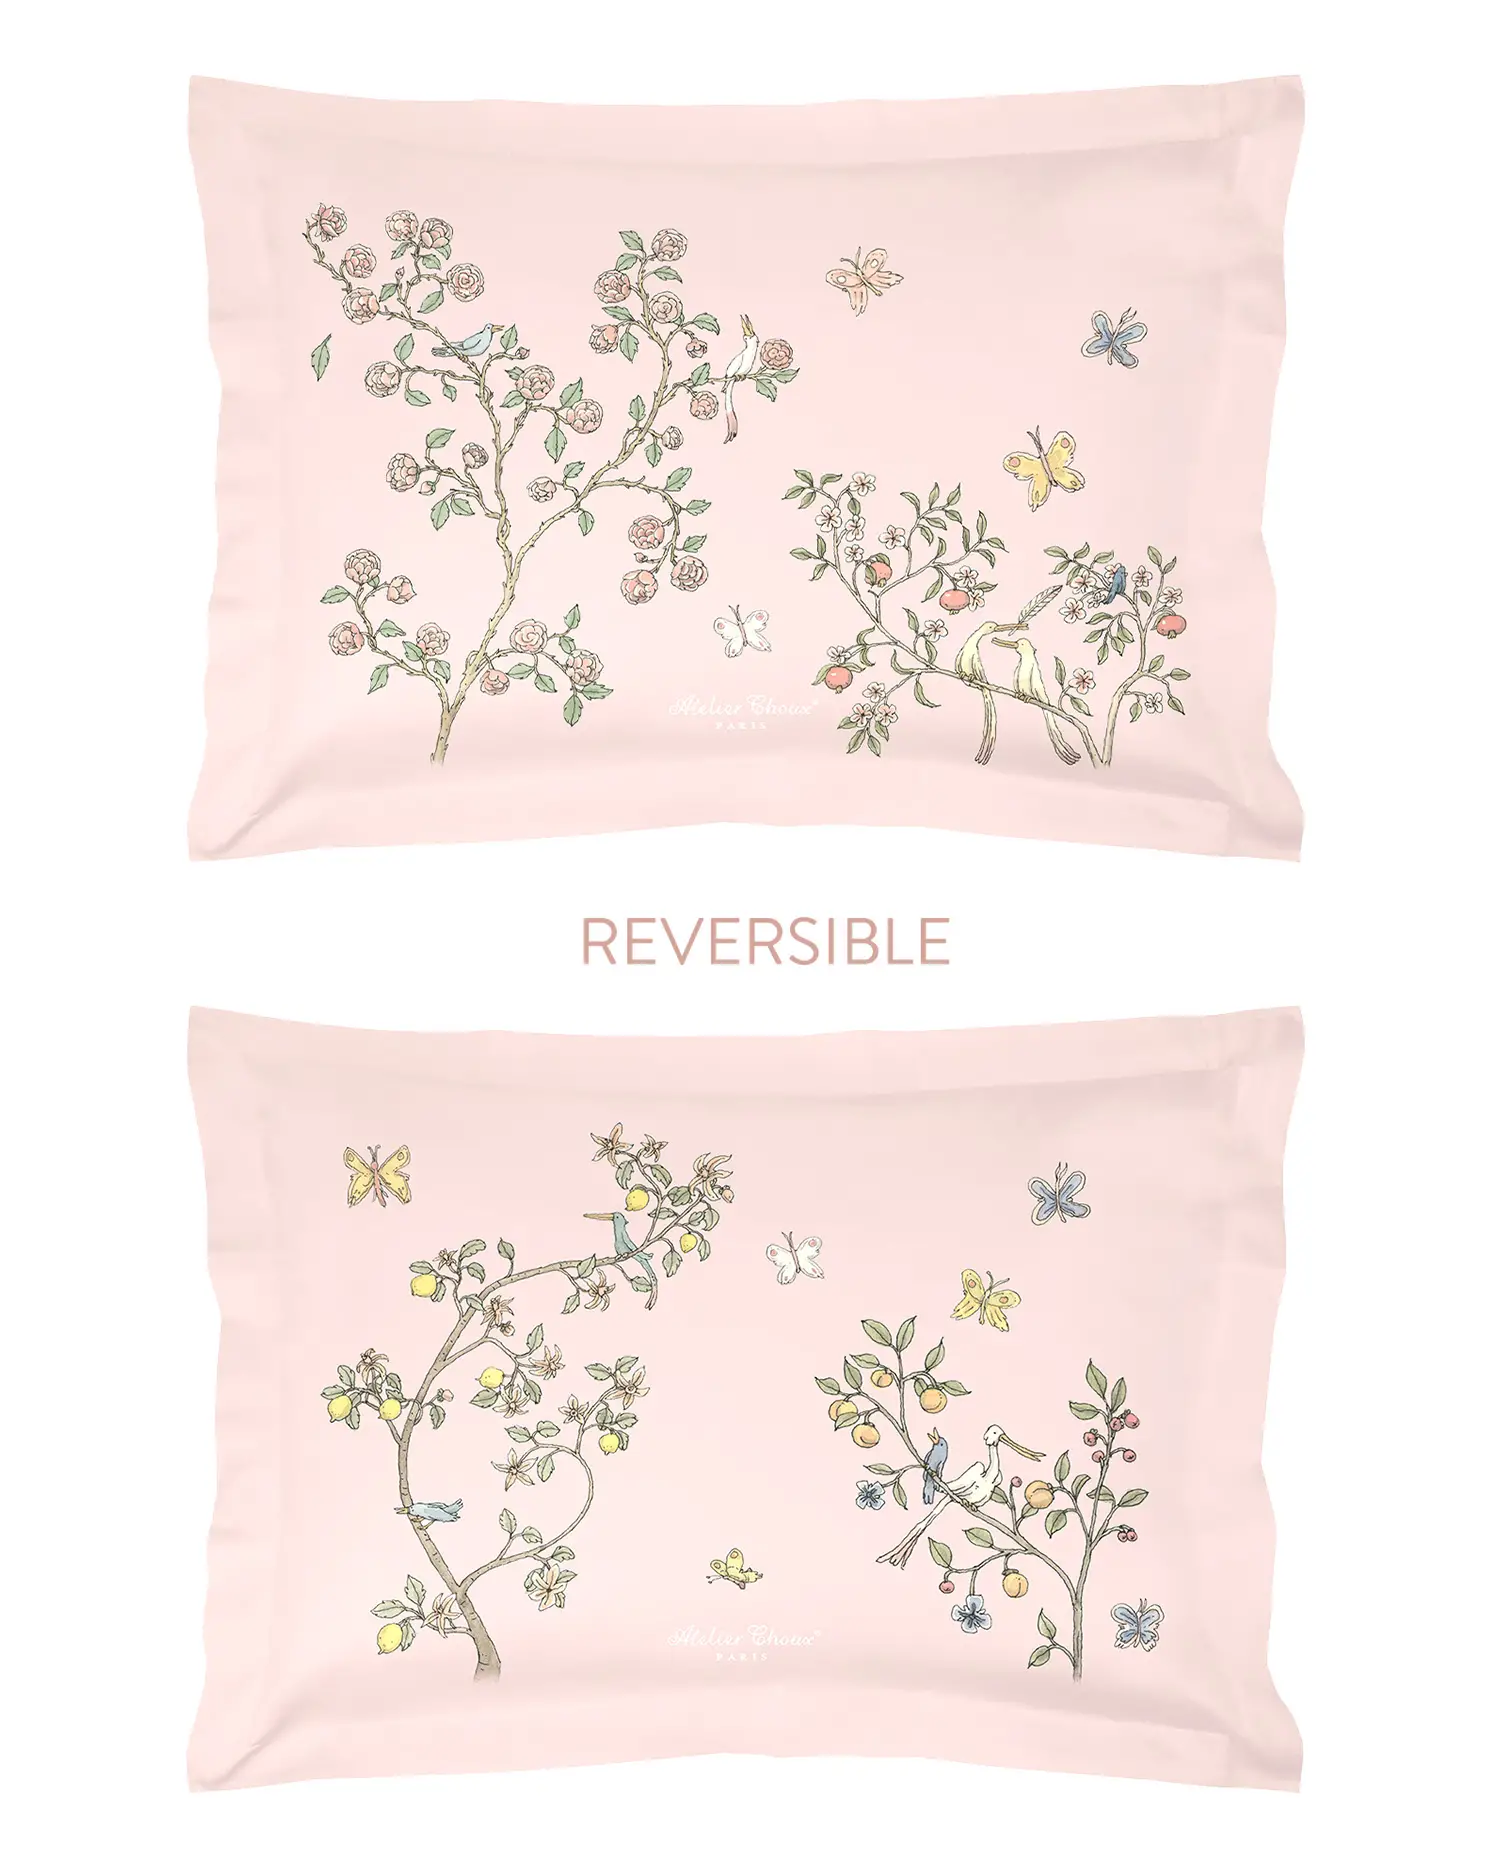
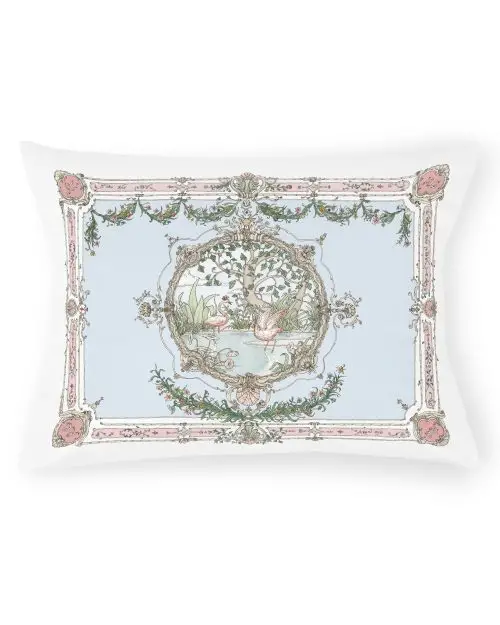
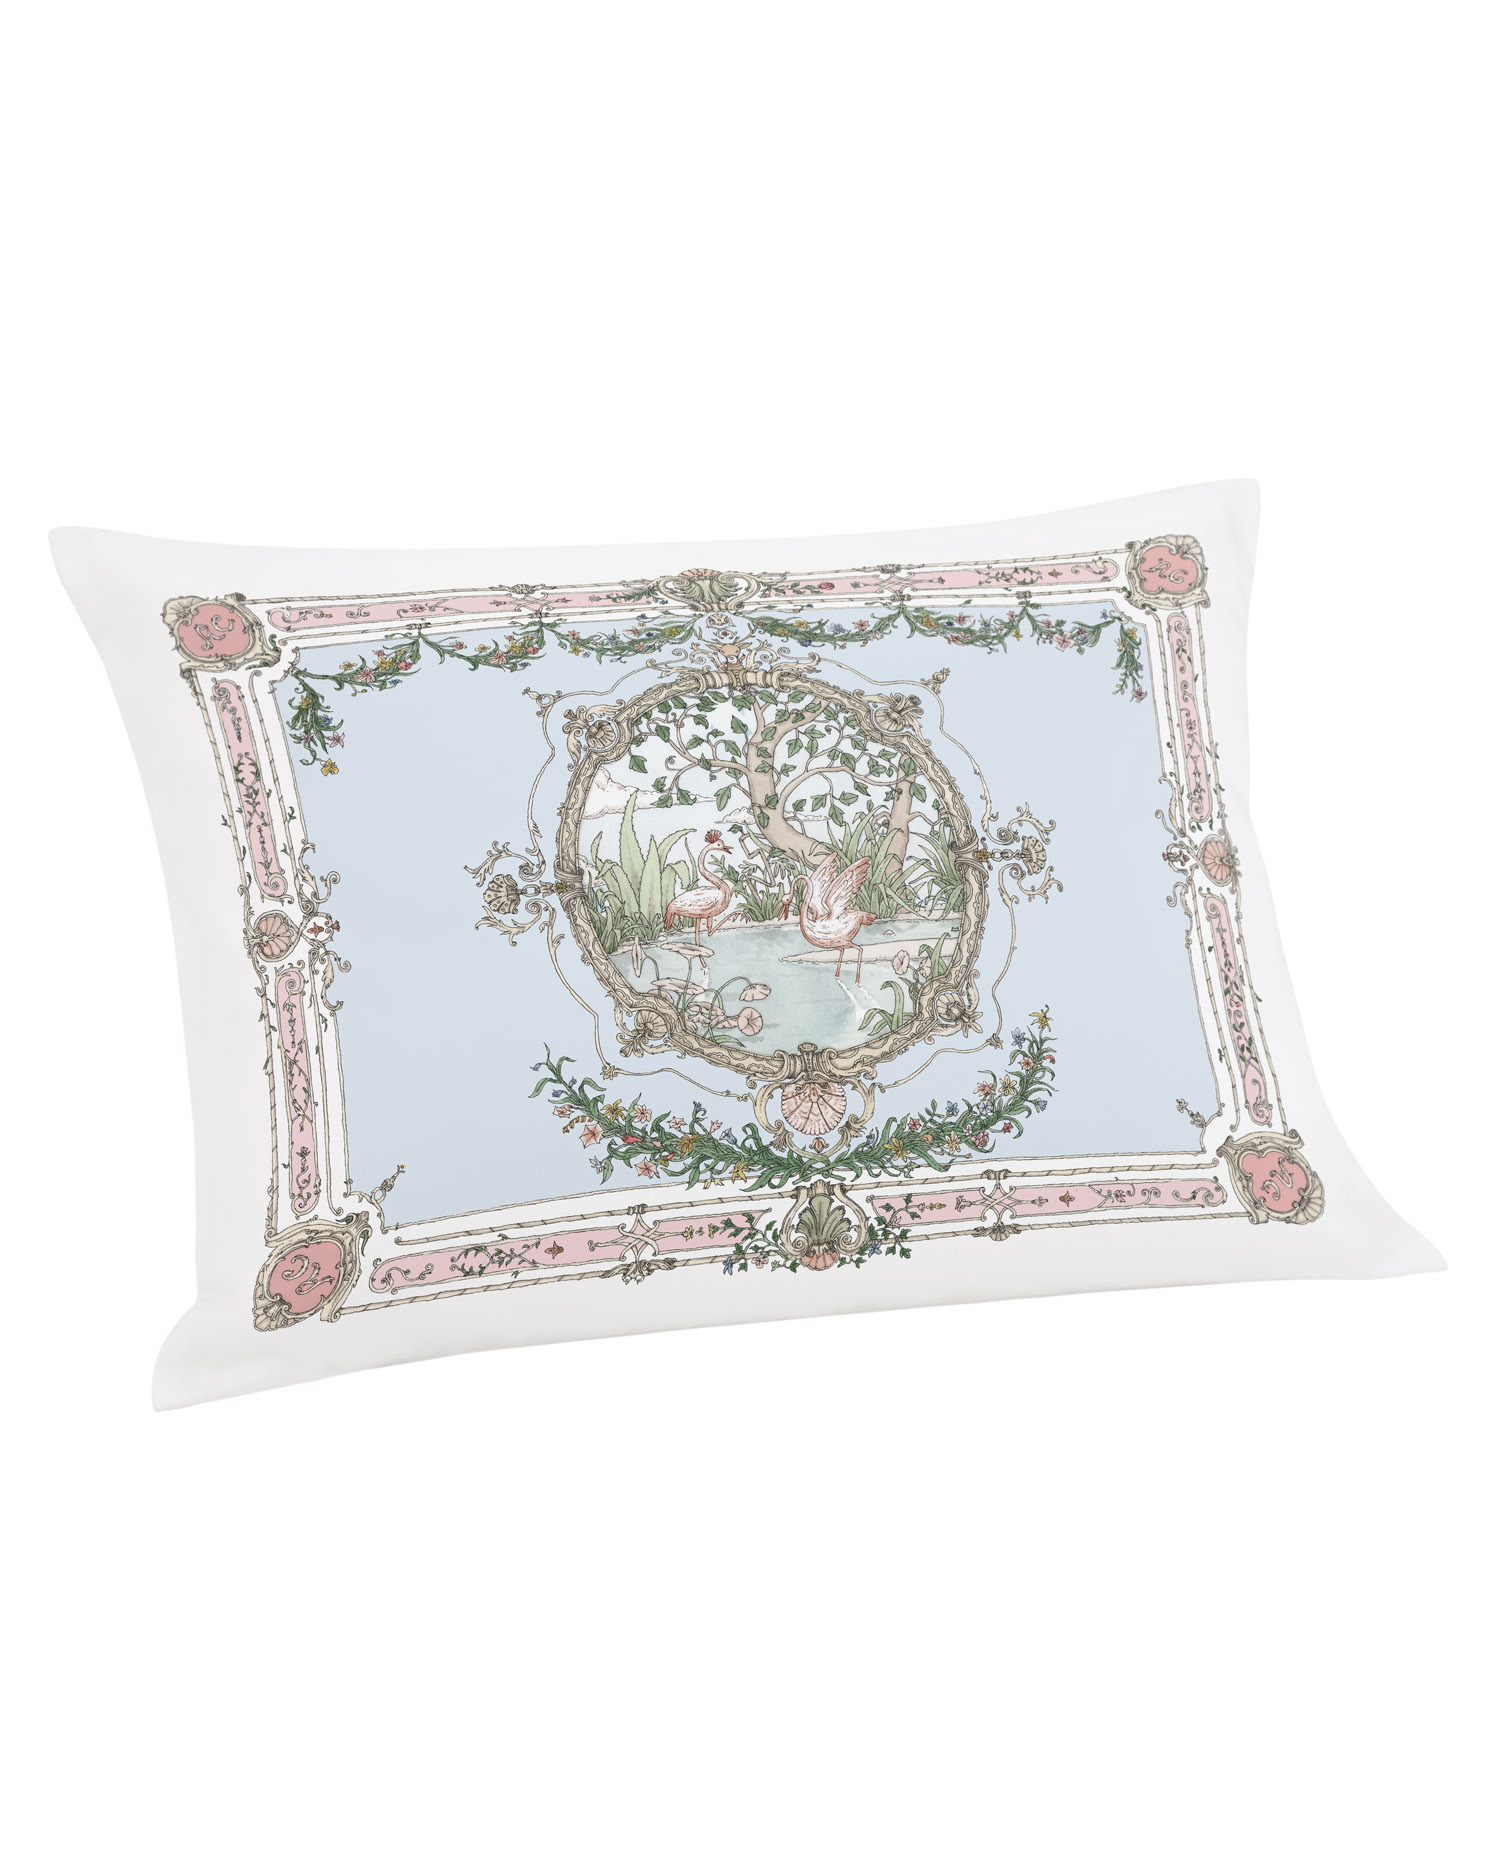
 Bedding
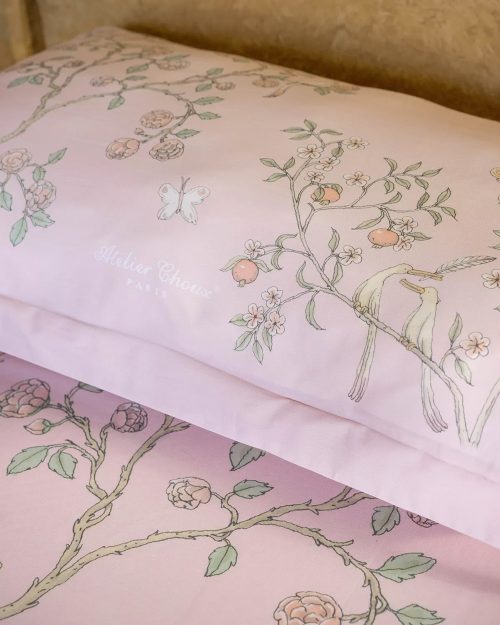

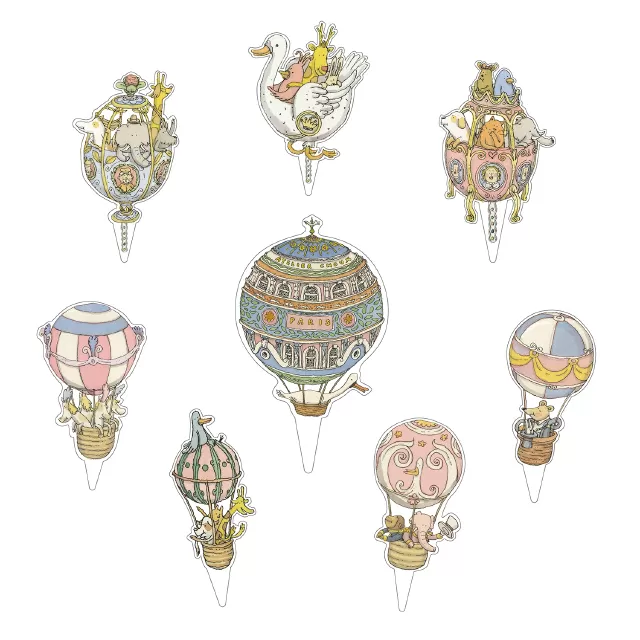
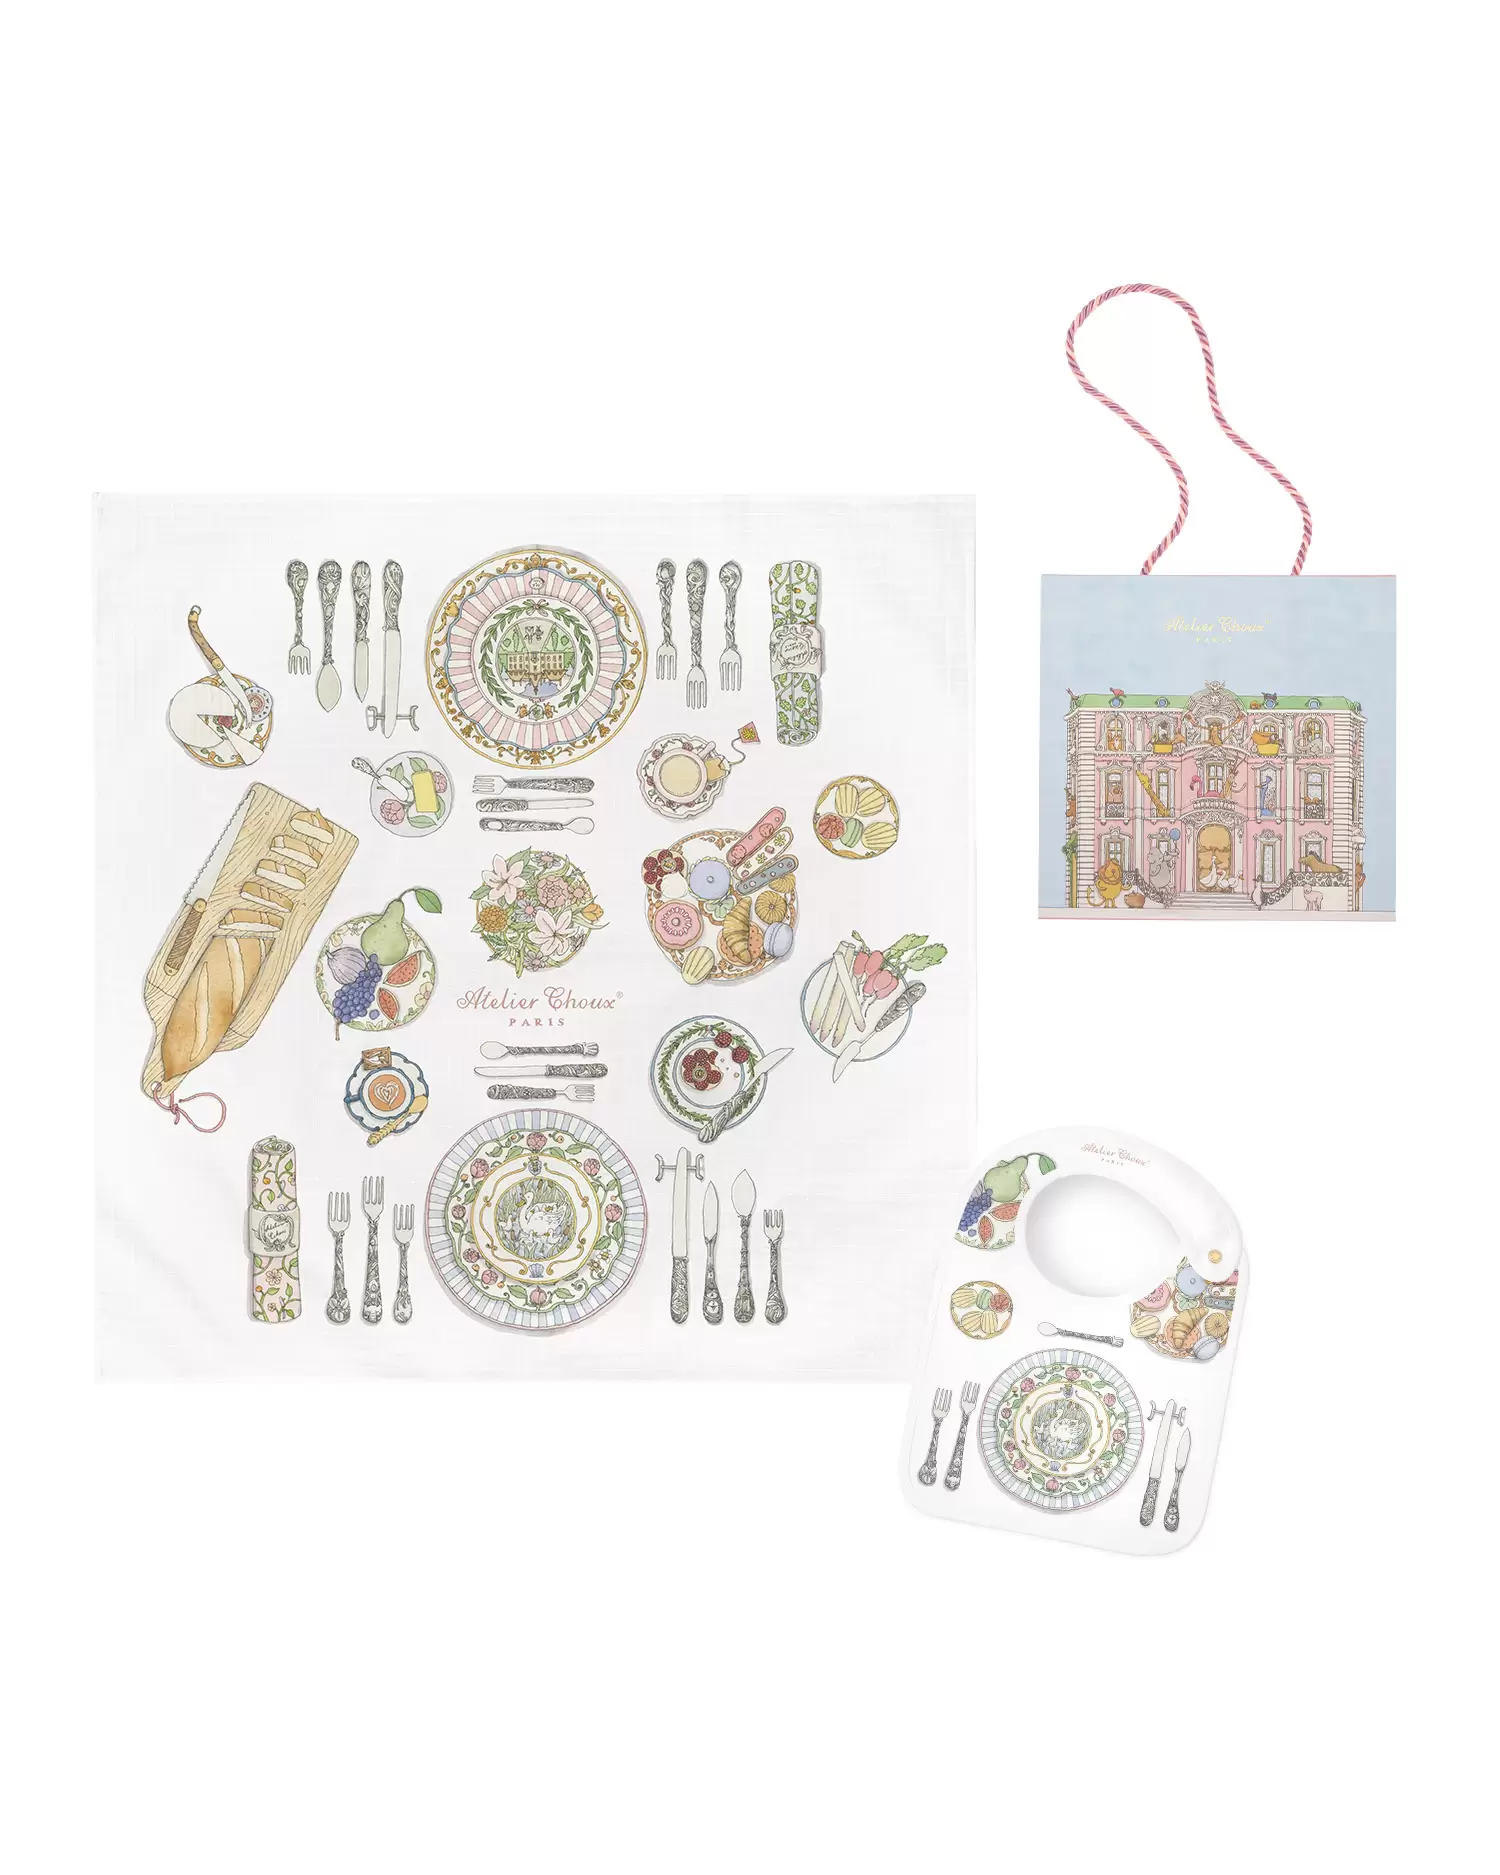
 Party
Party
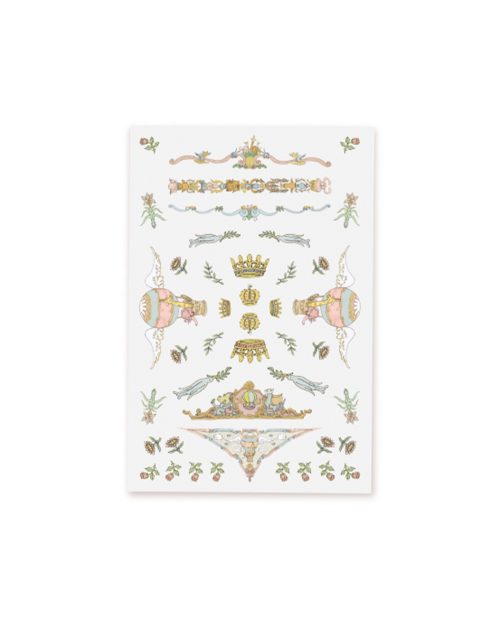
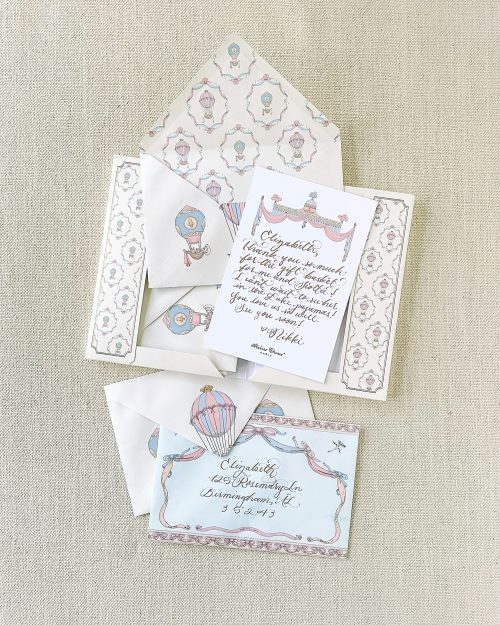
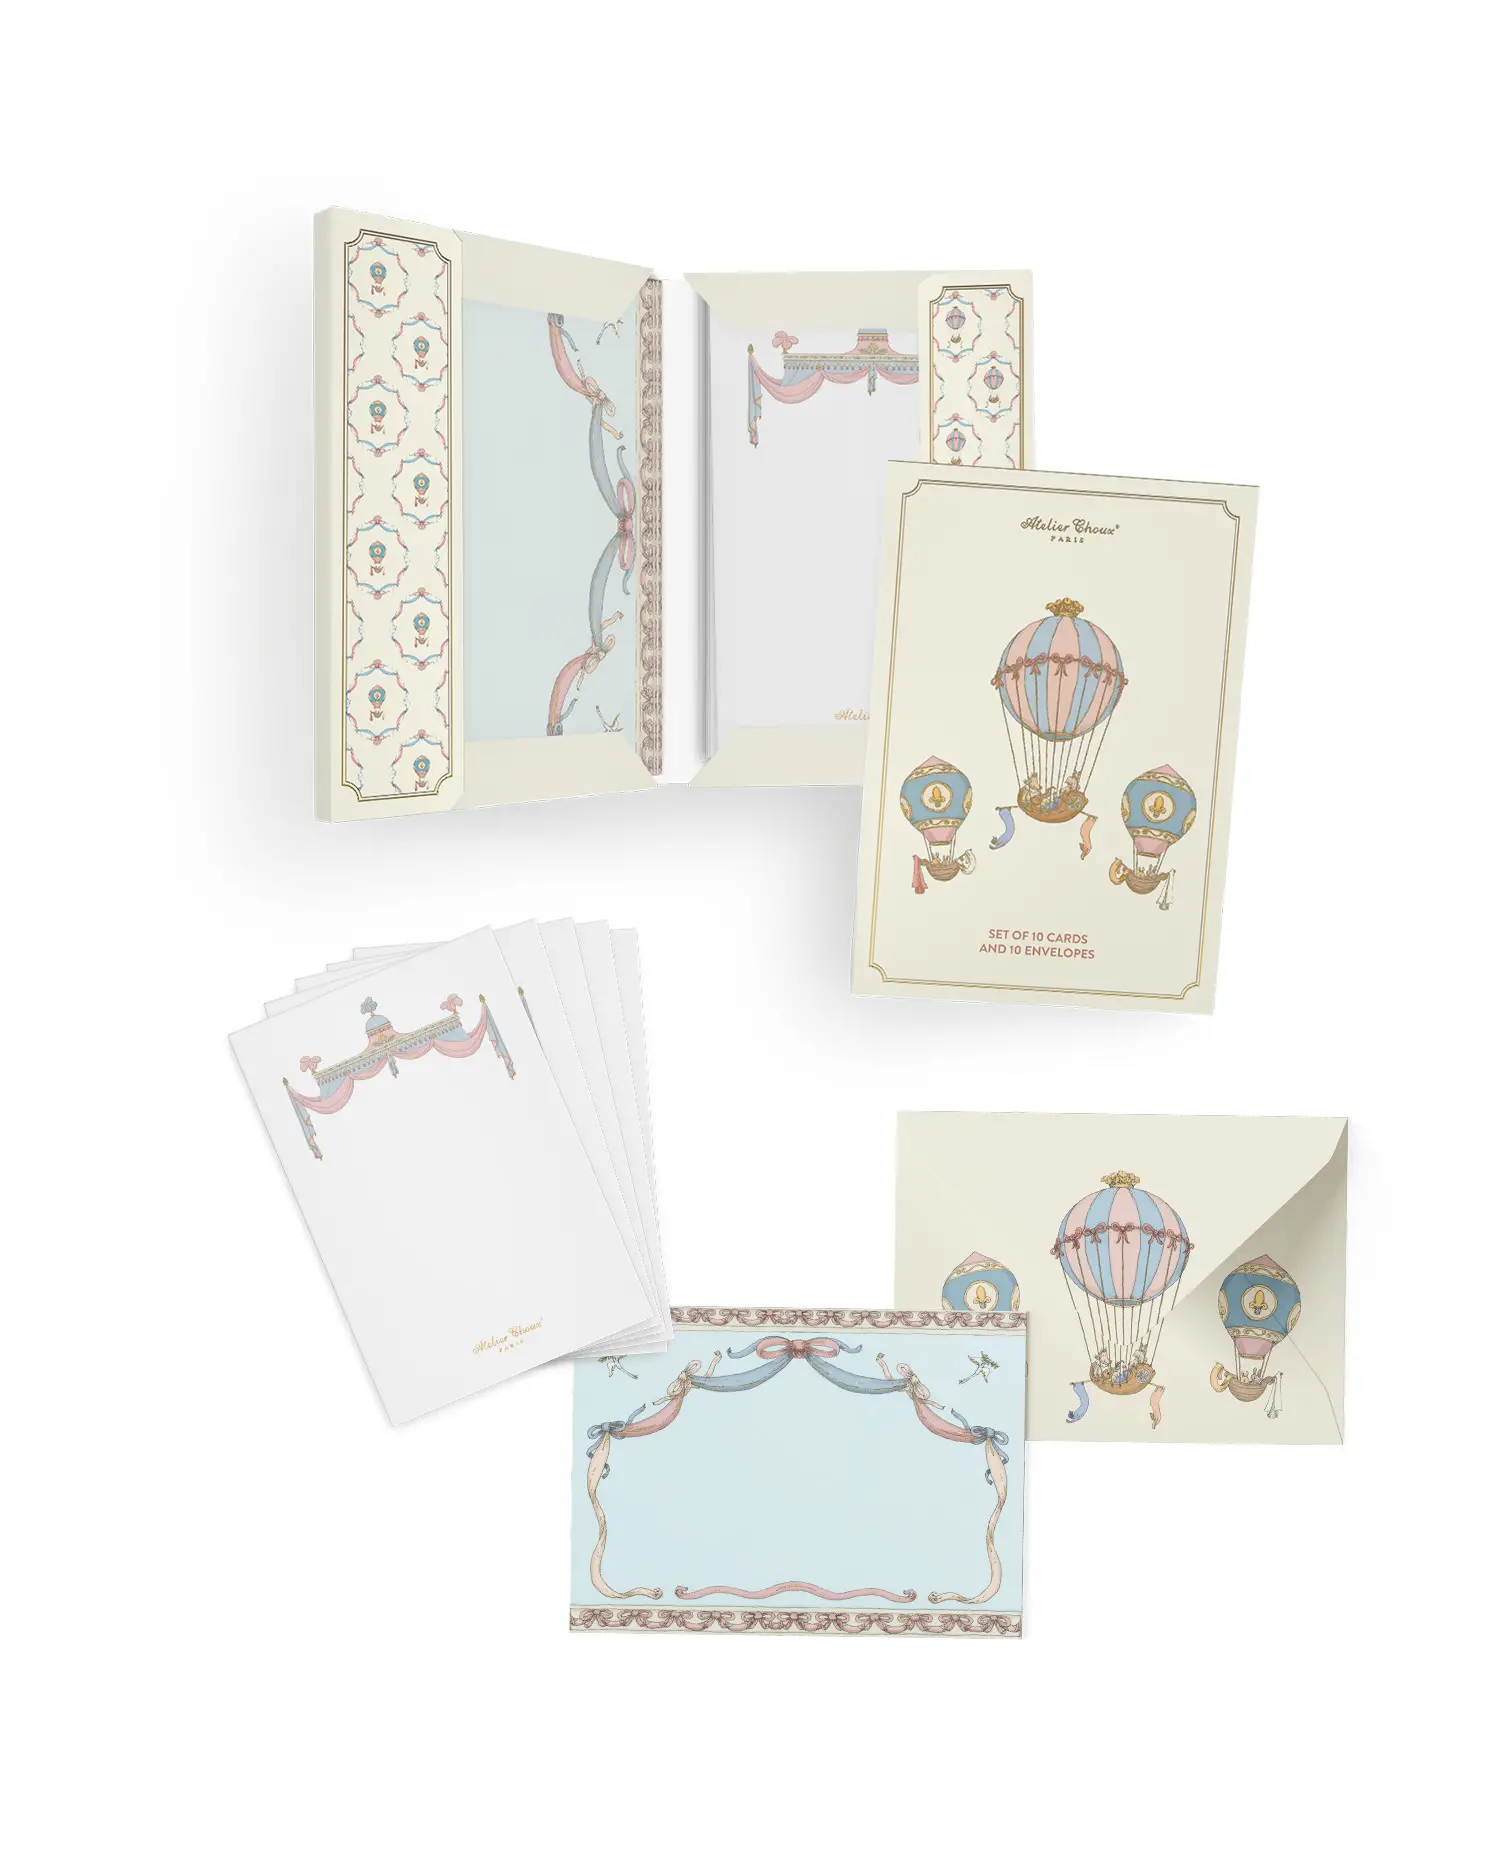
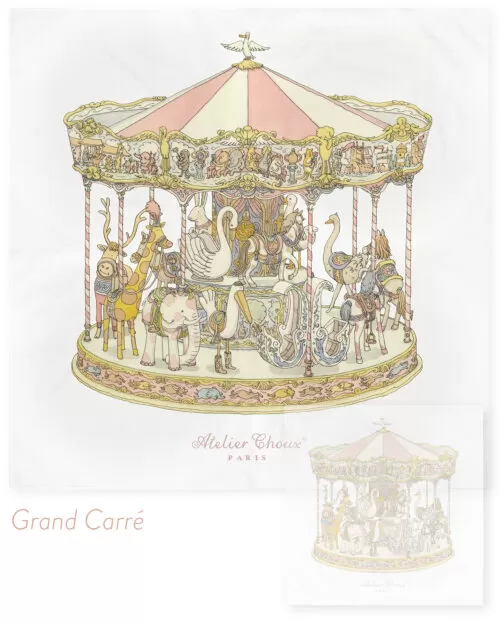
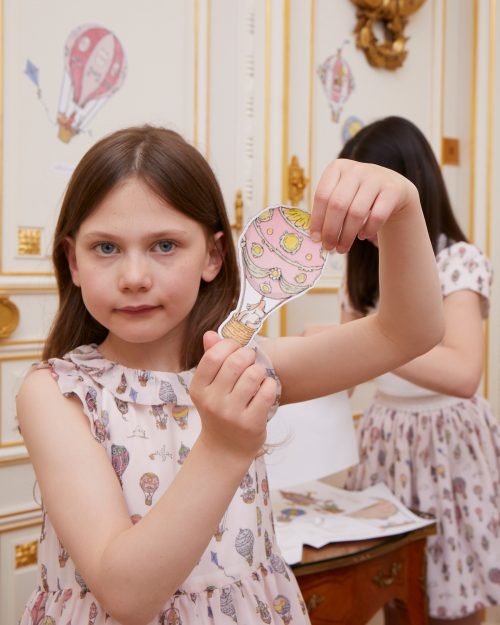
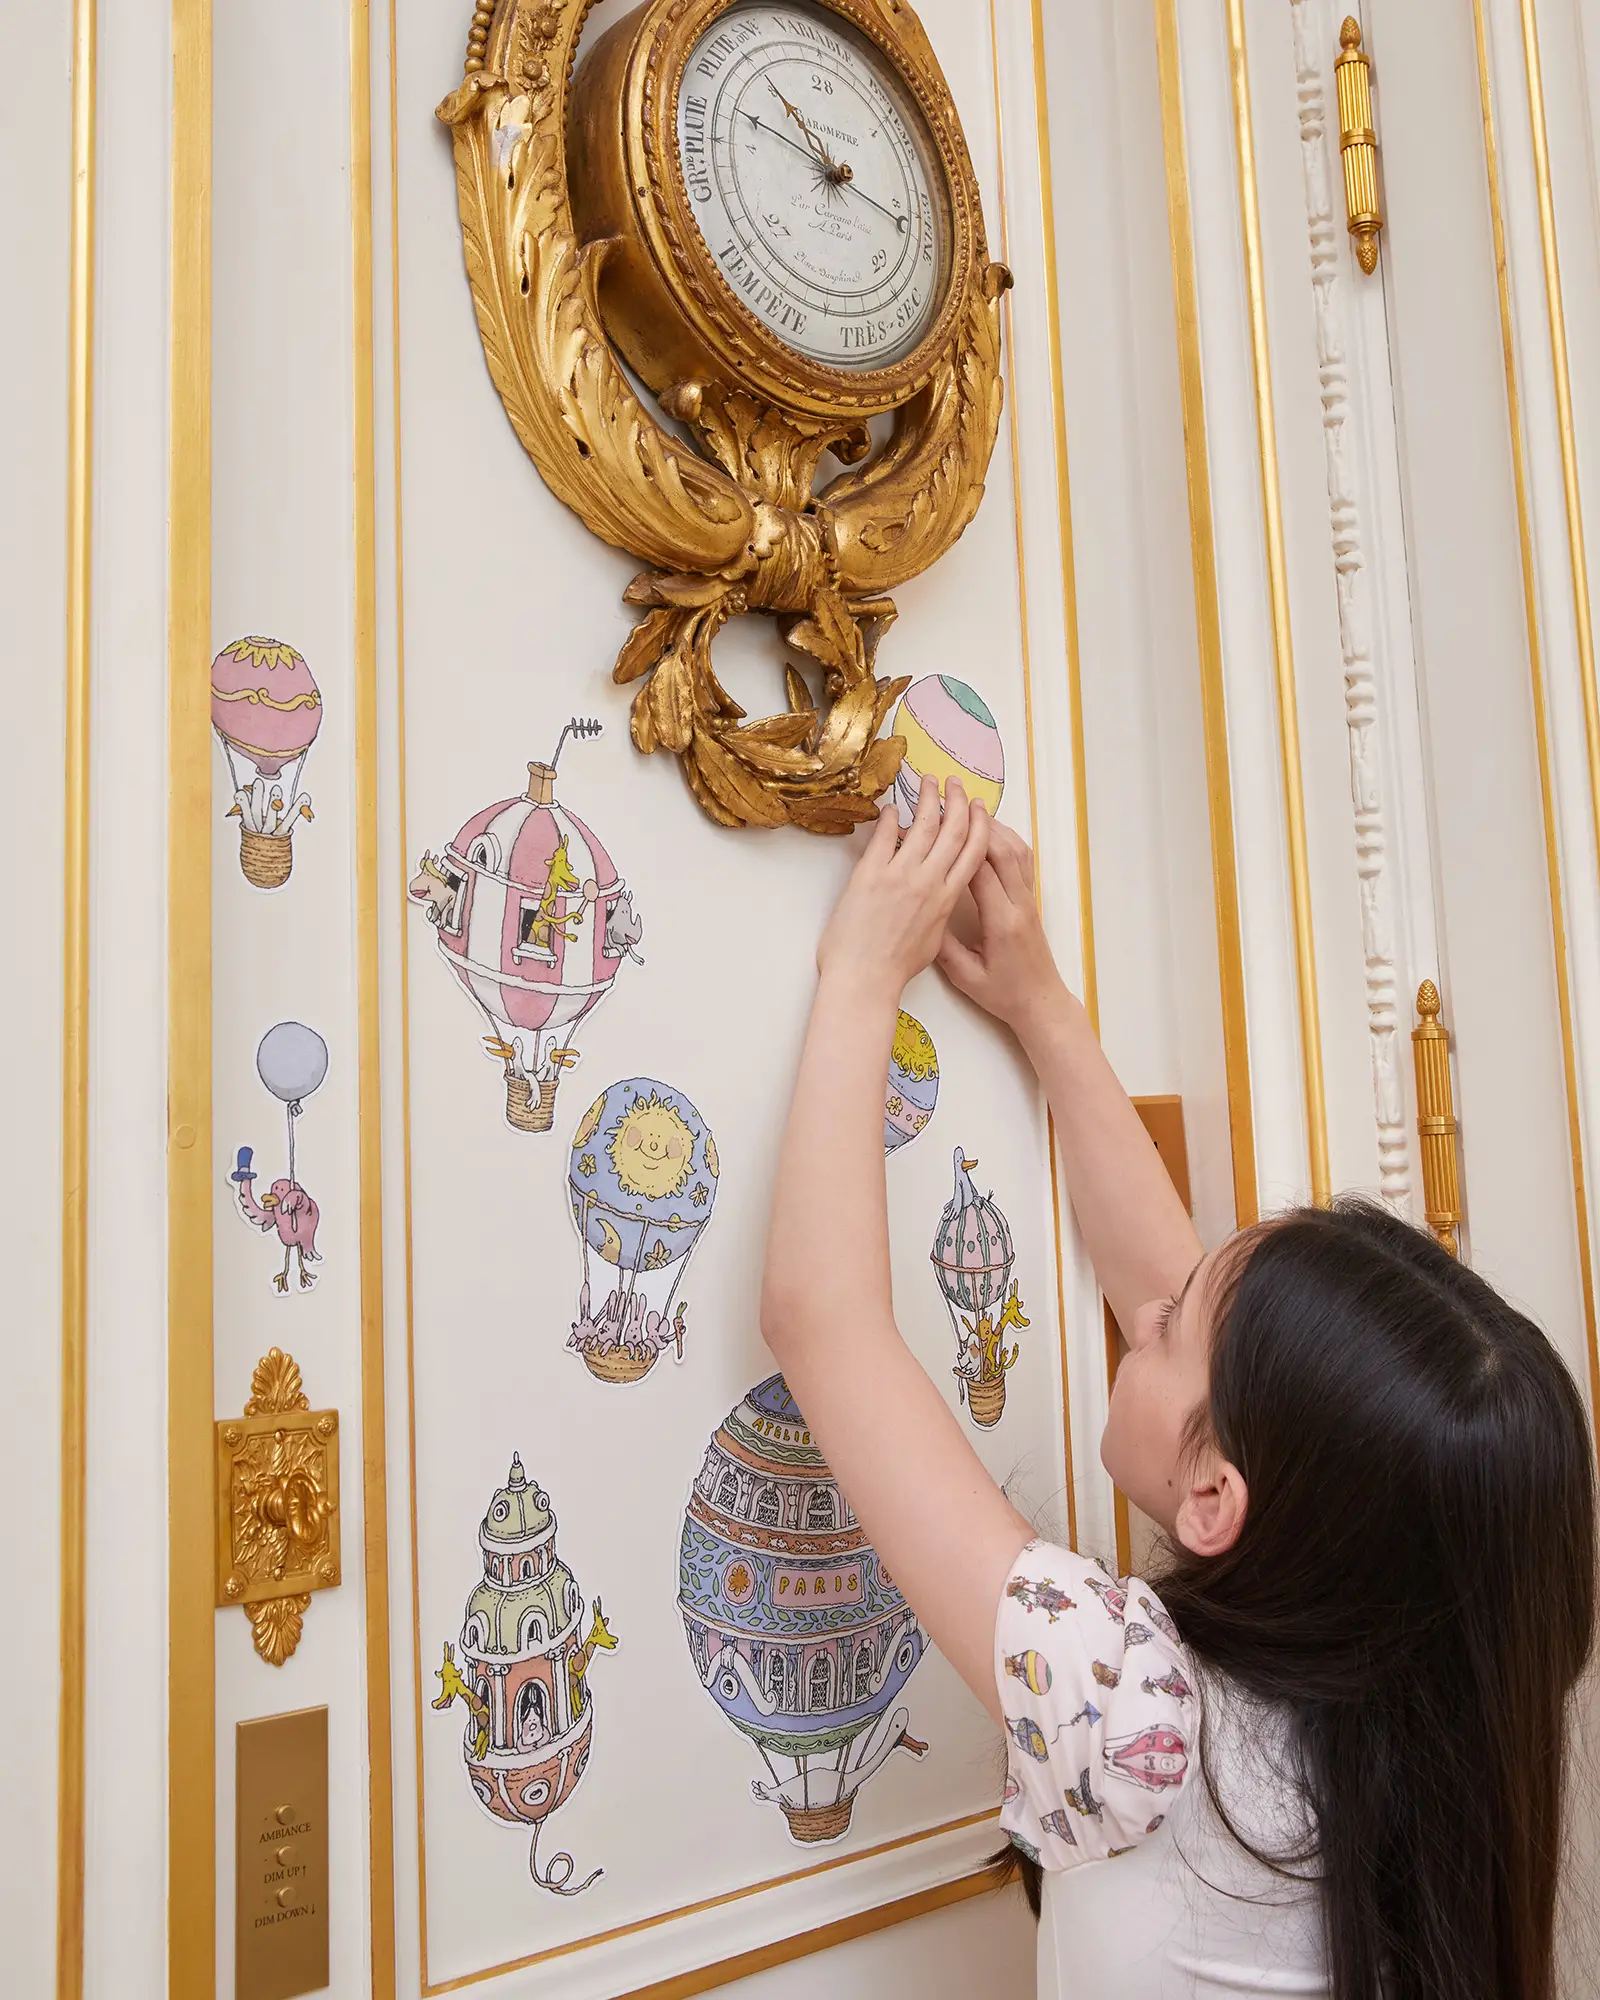
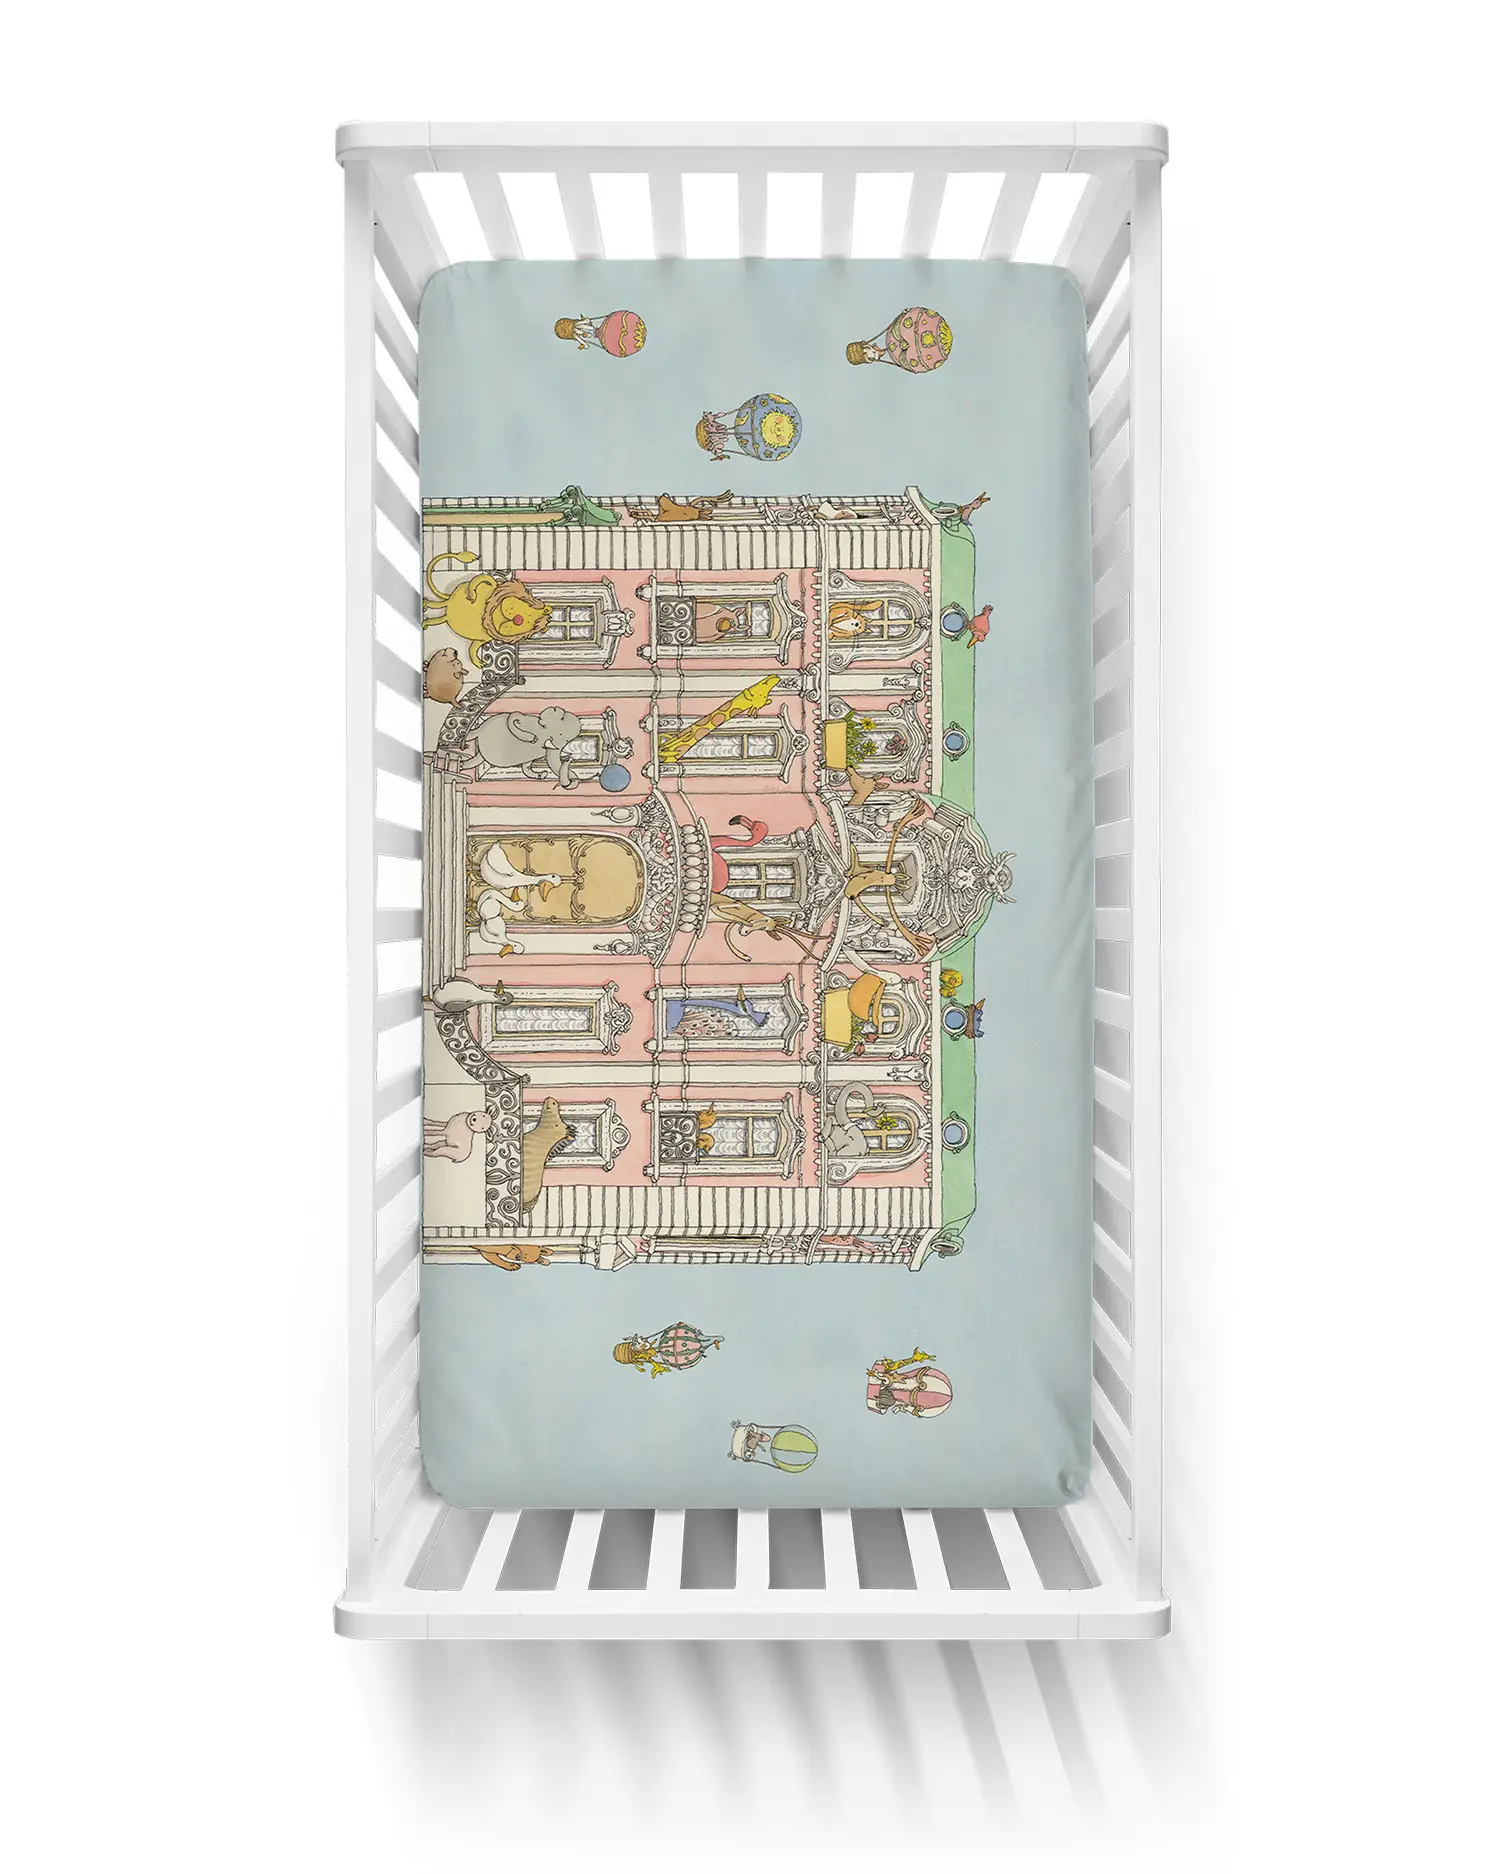
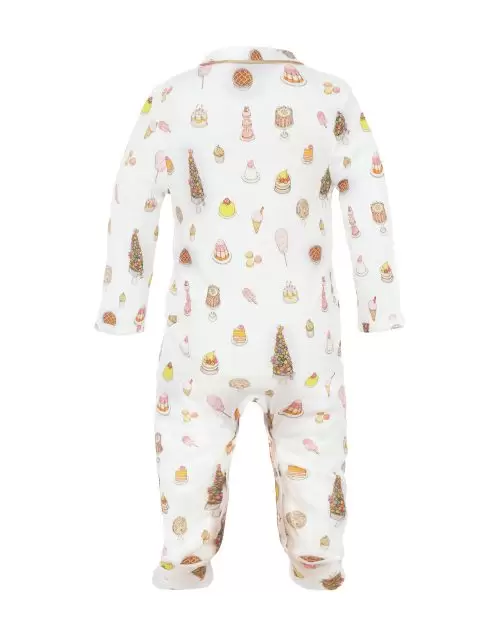
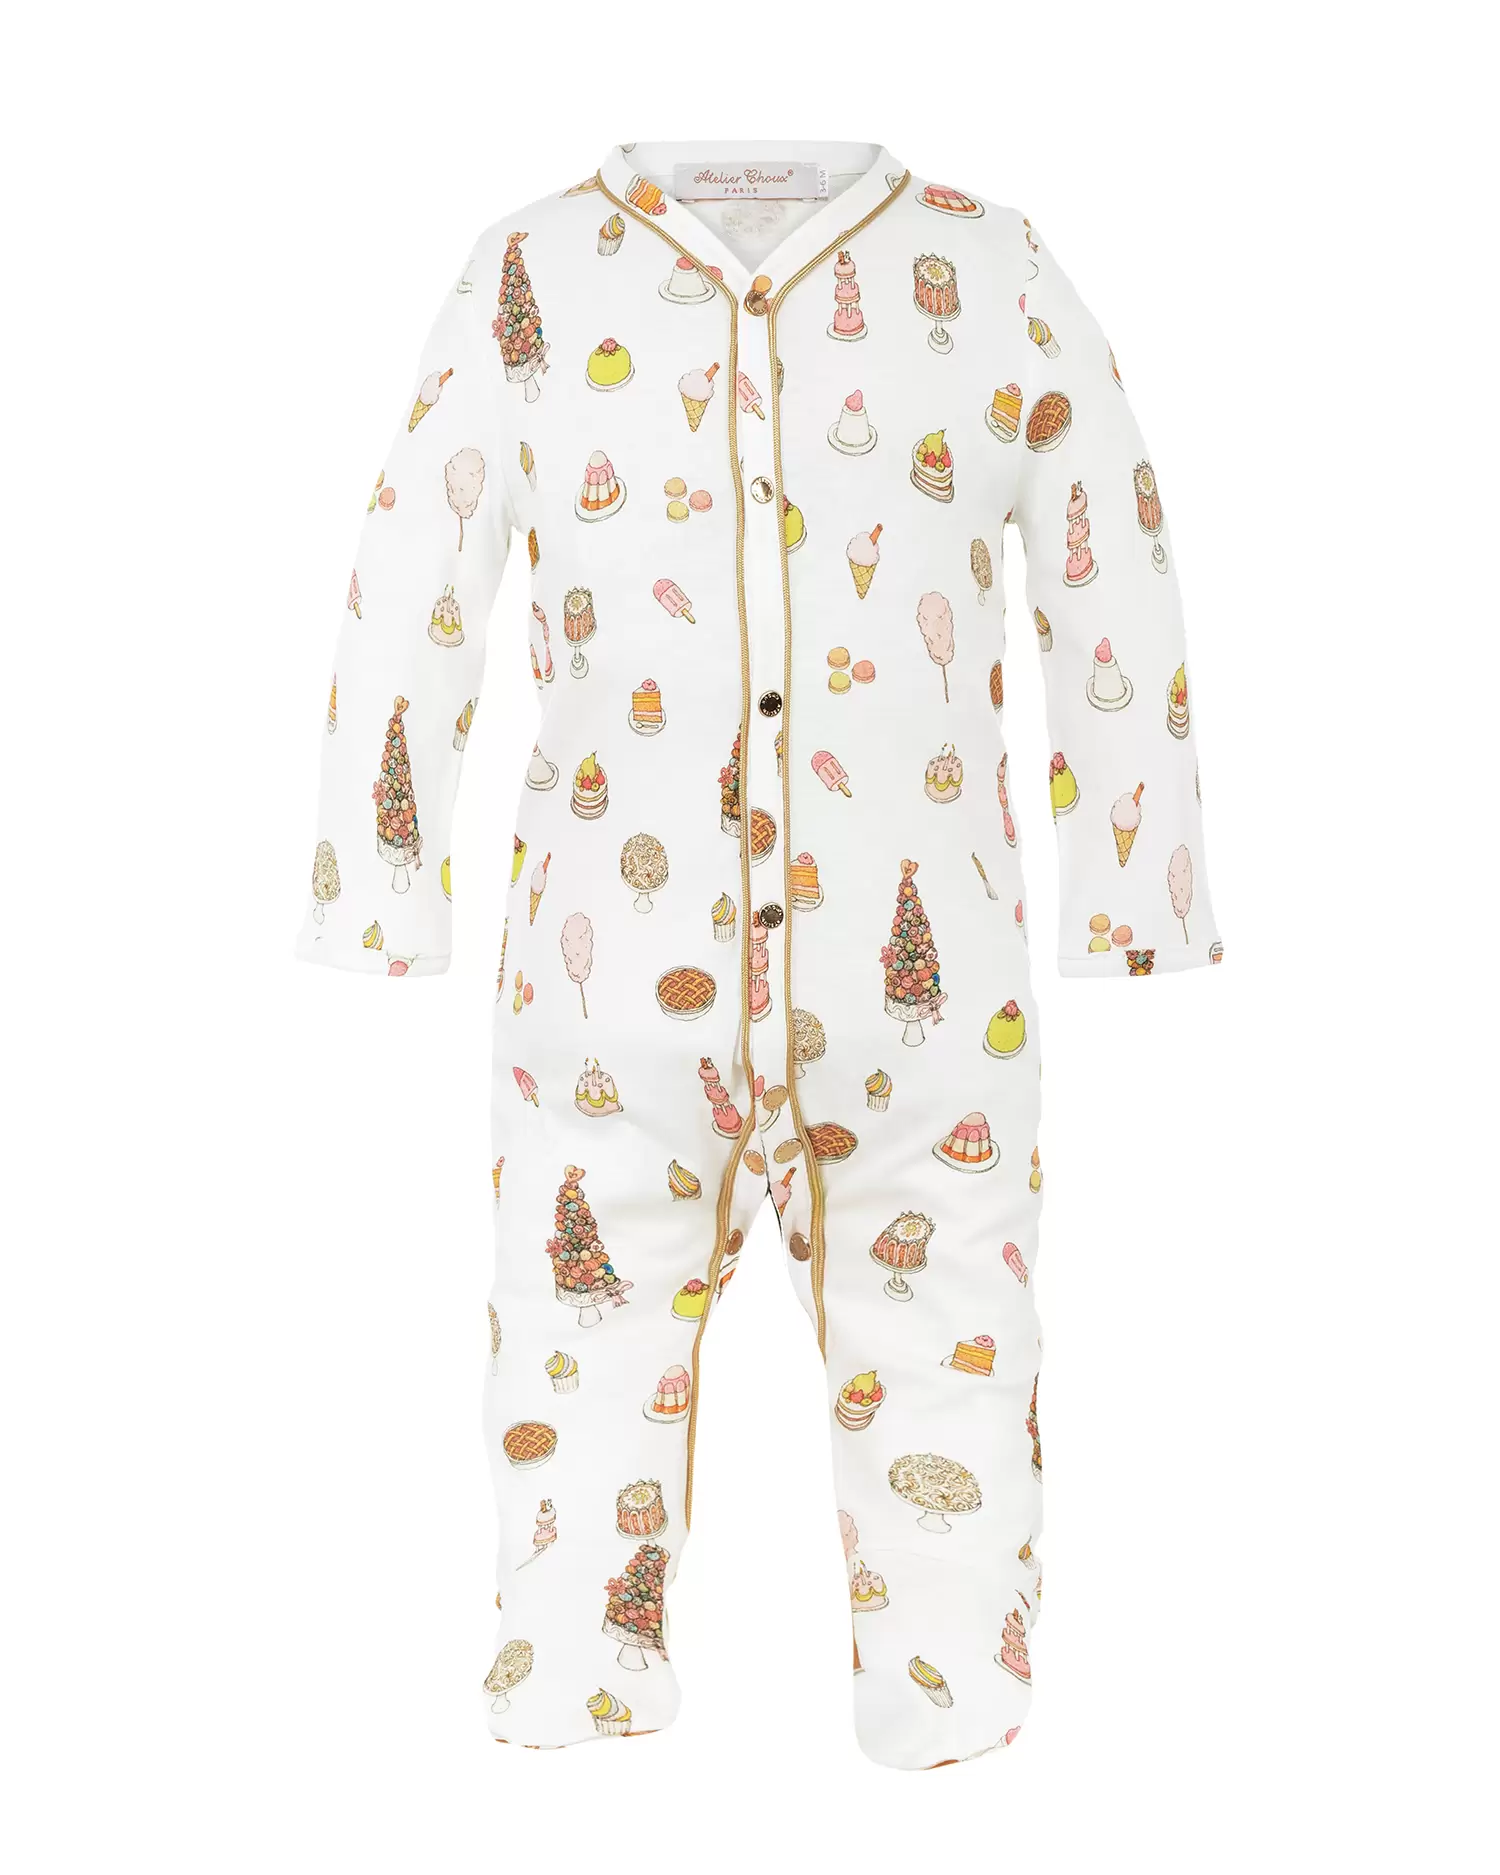
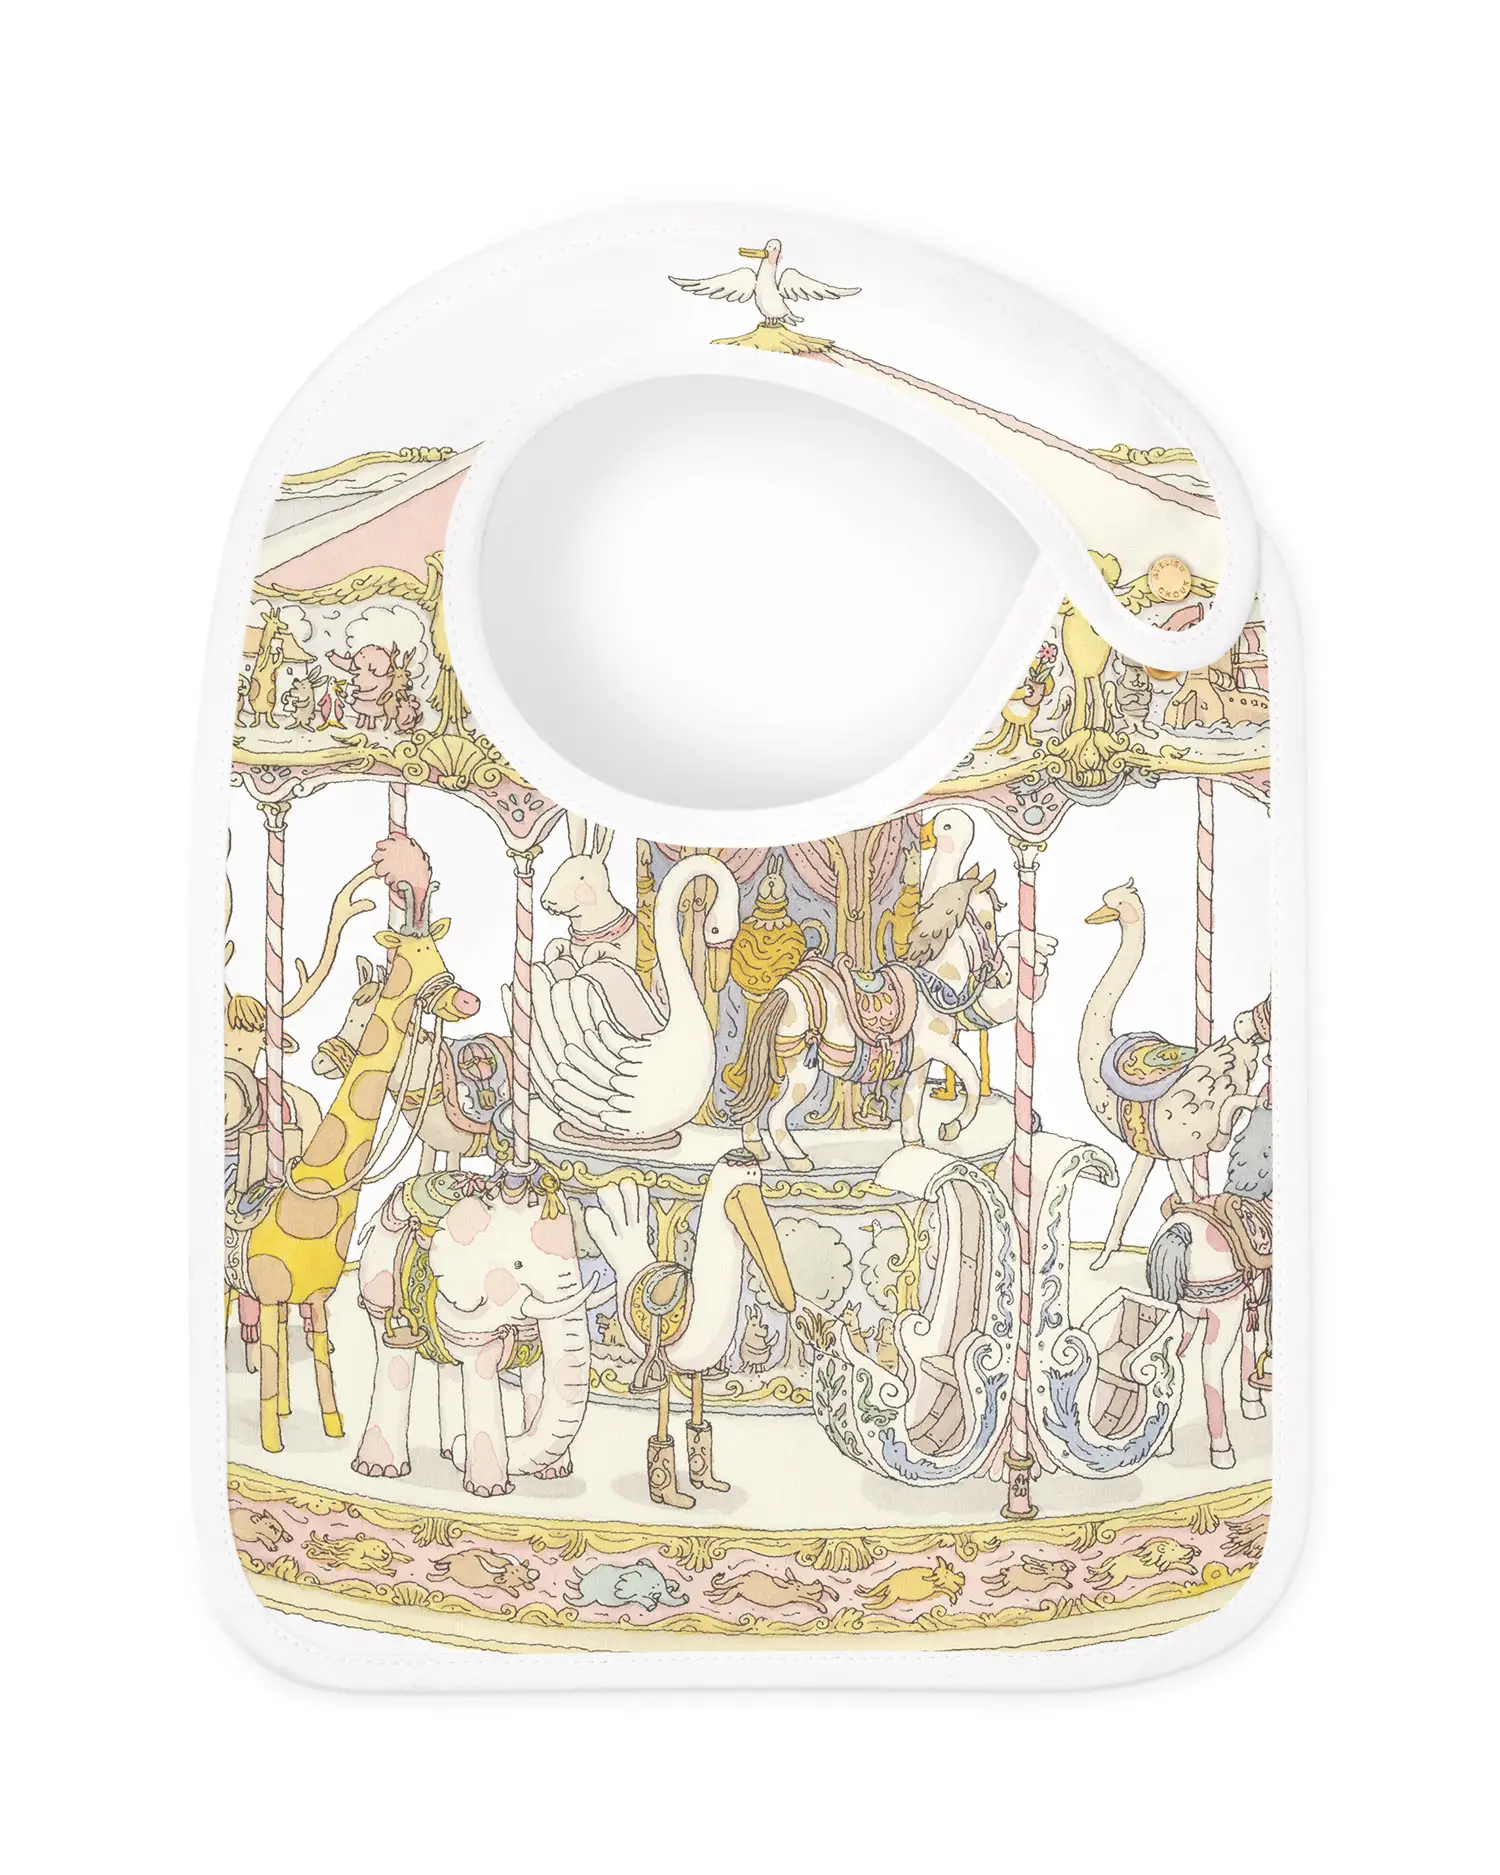
 Babies
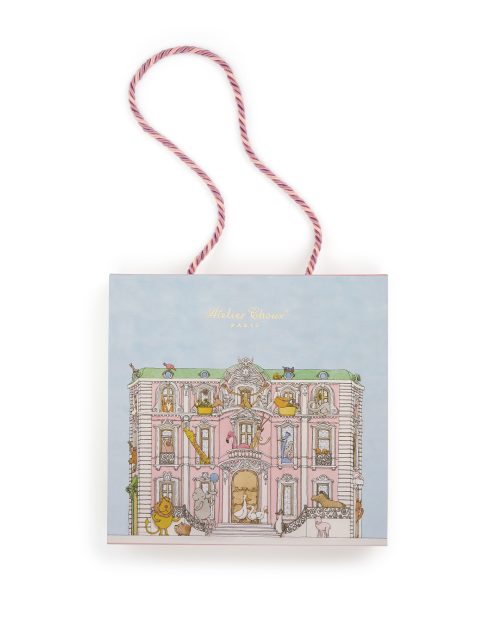

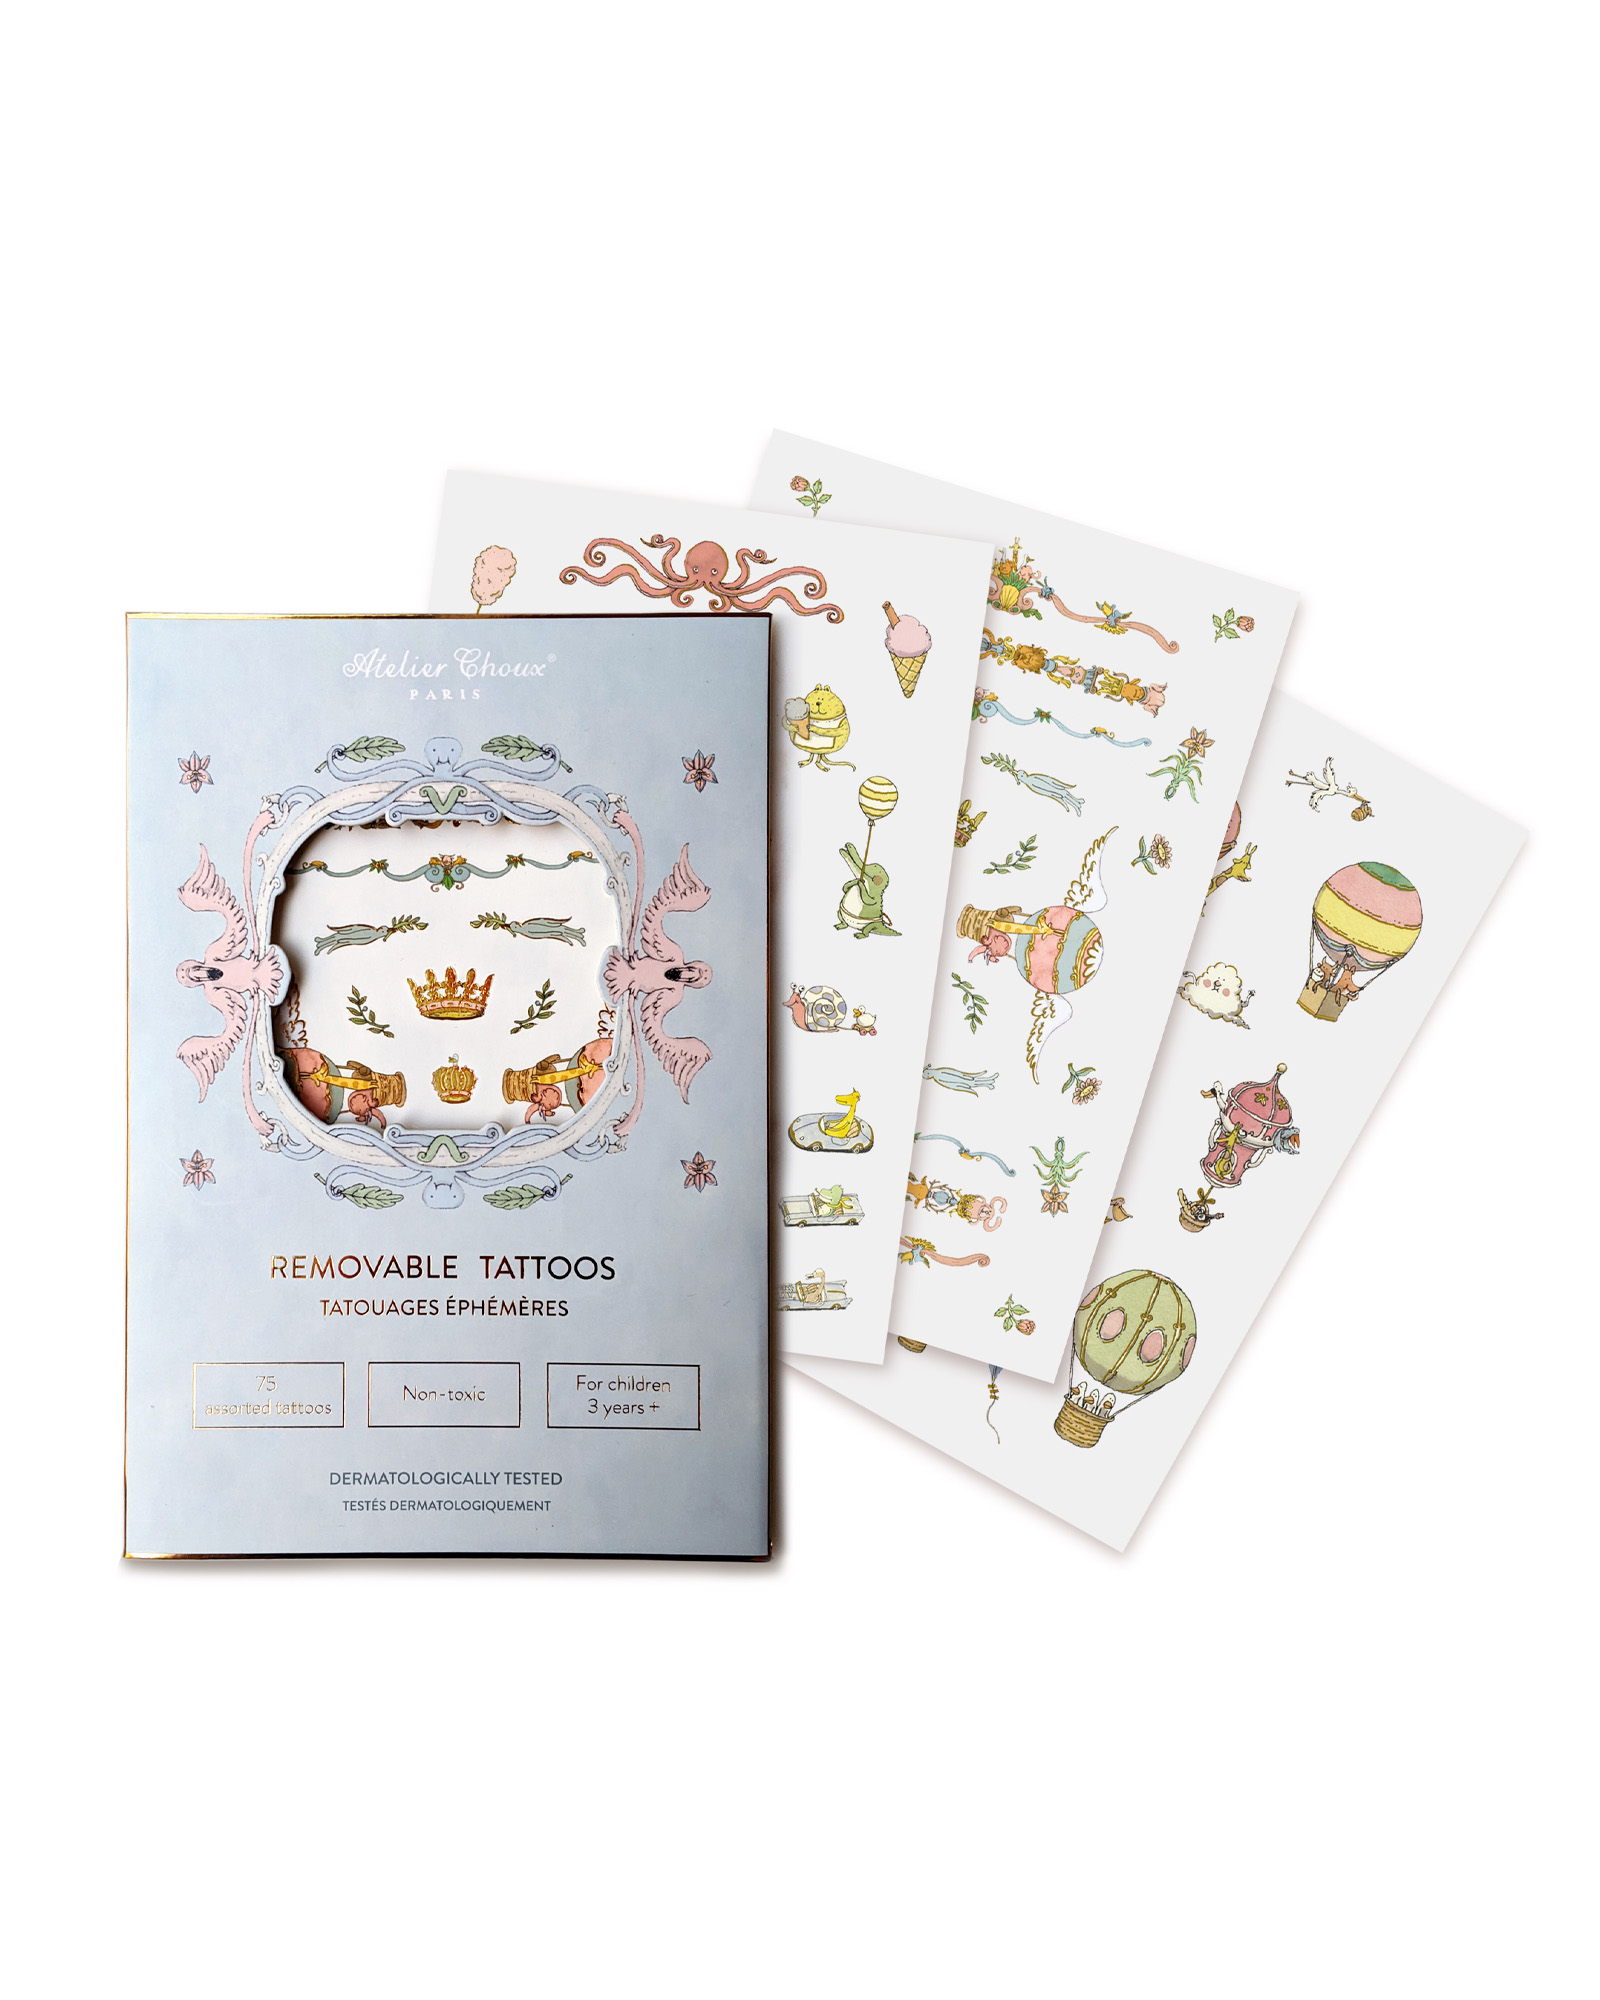
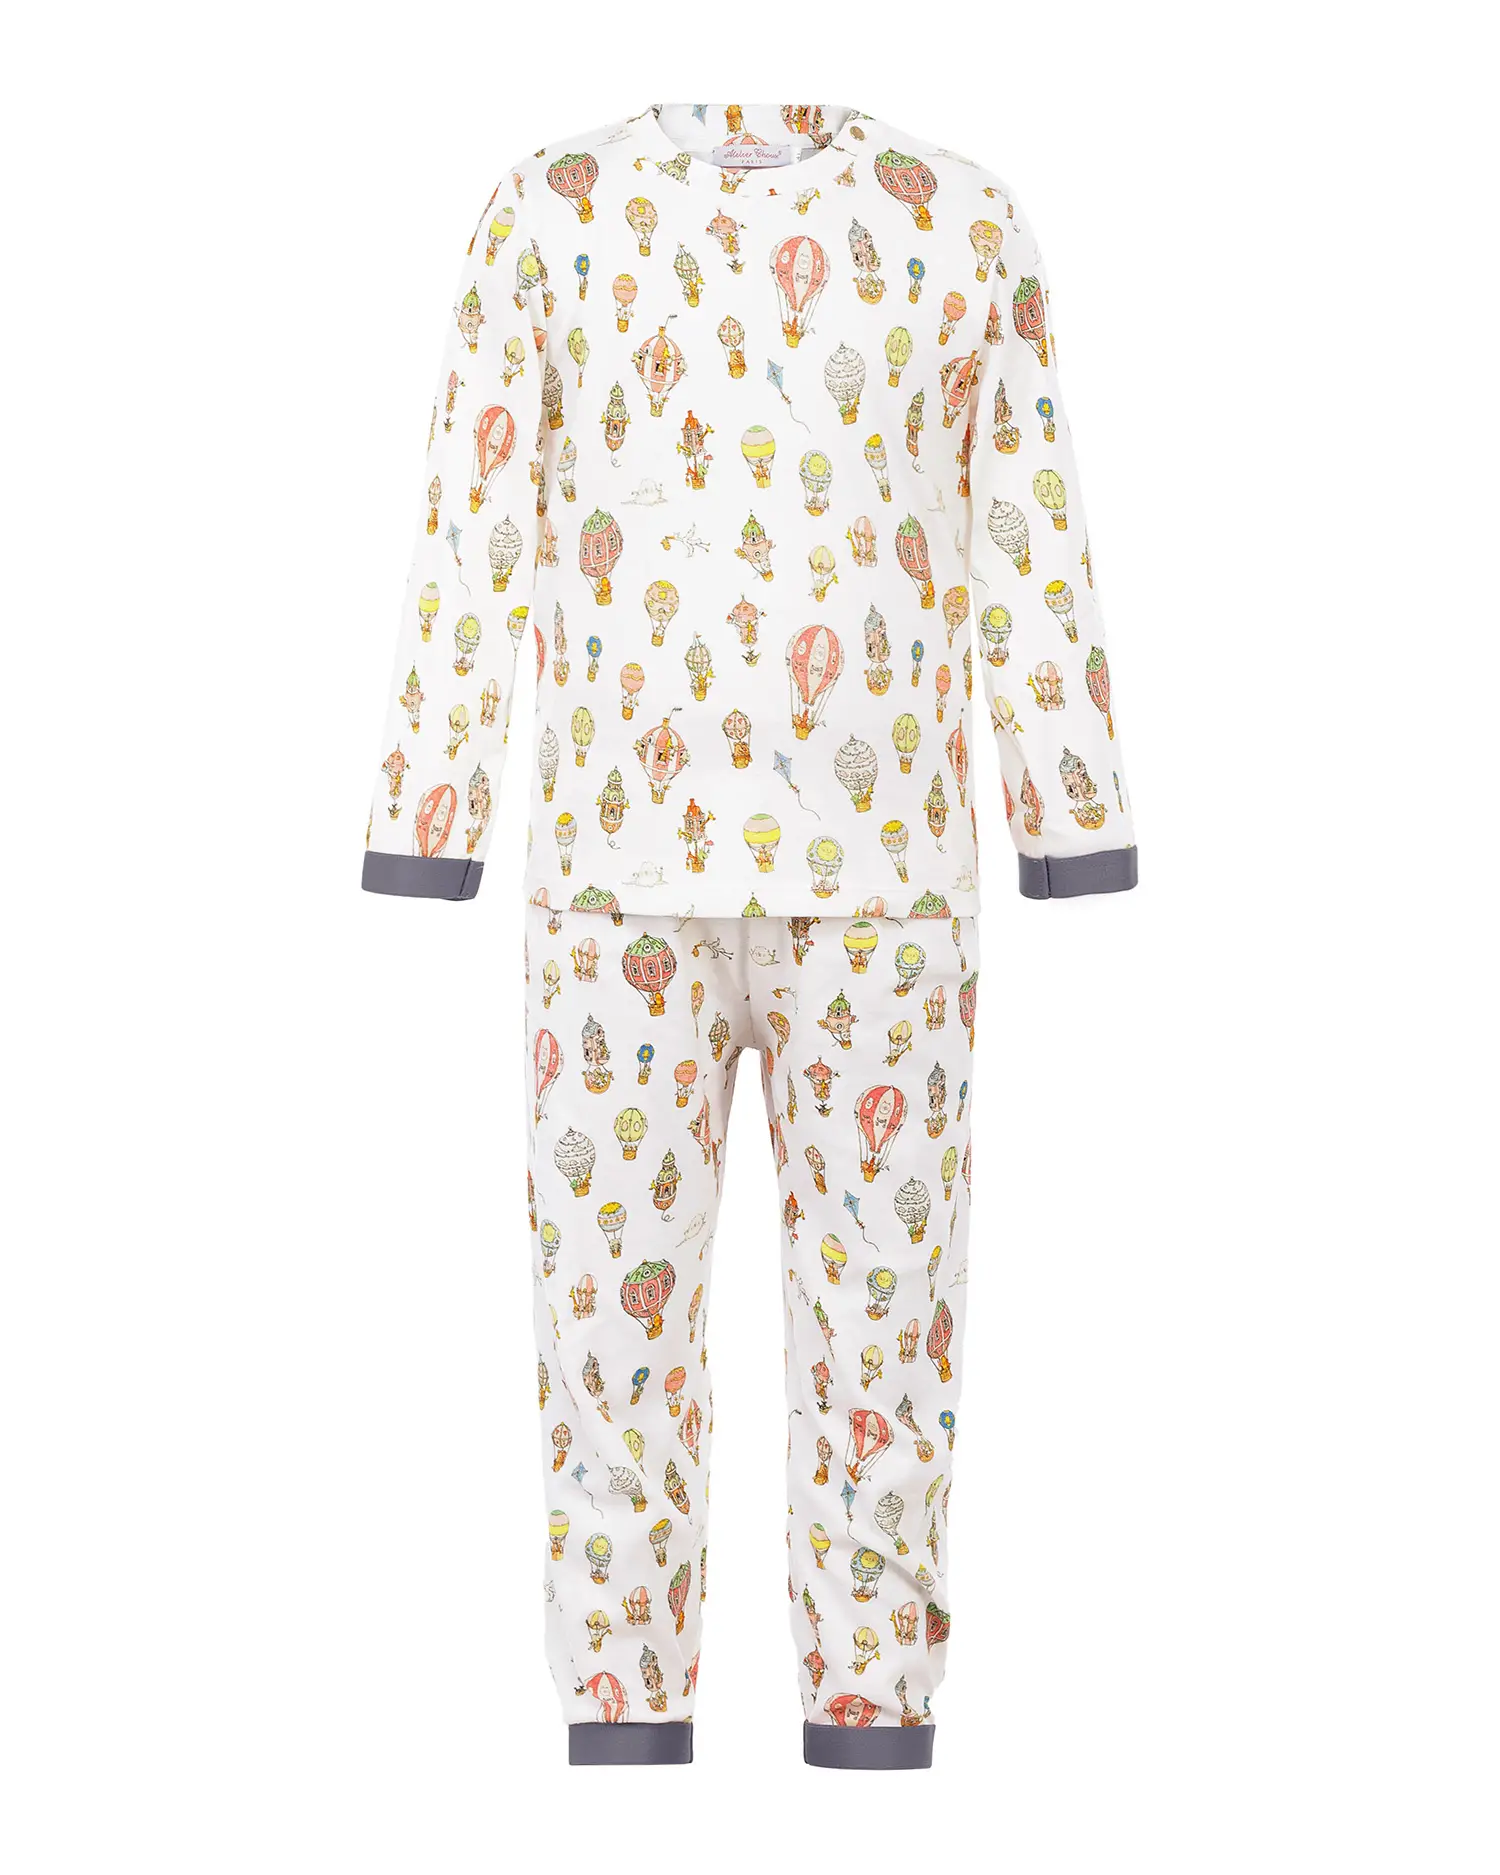
 Kids
Kids
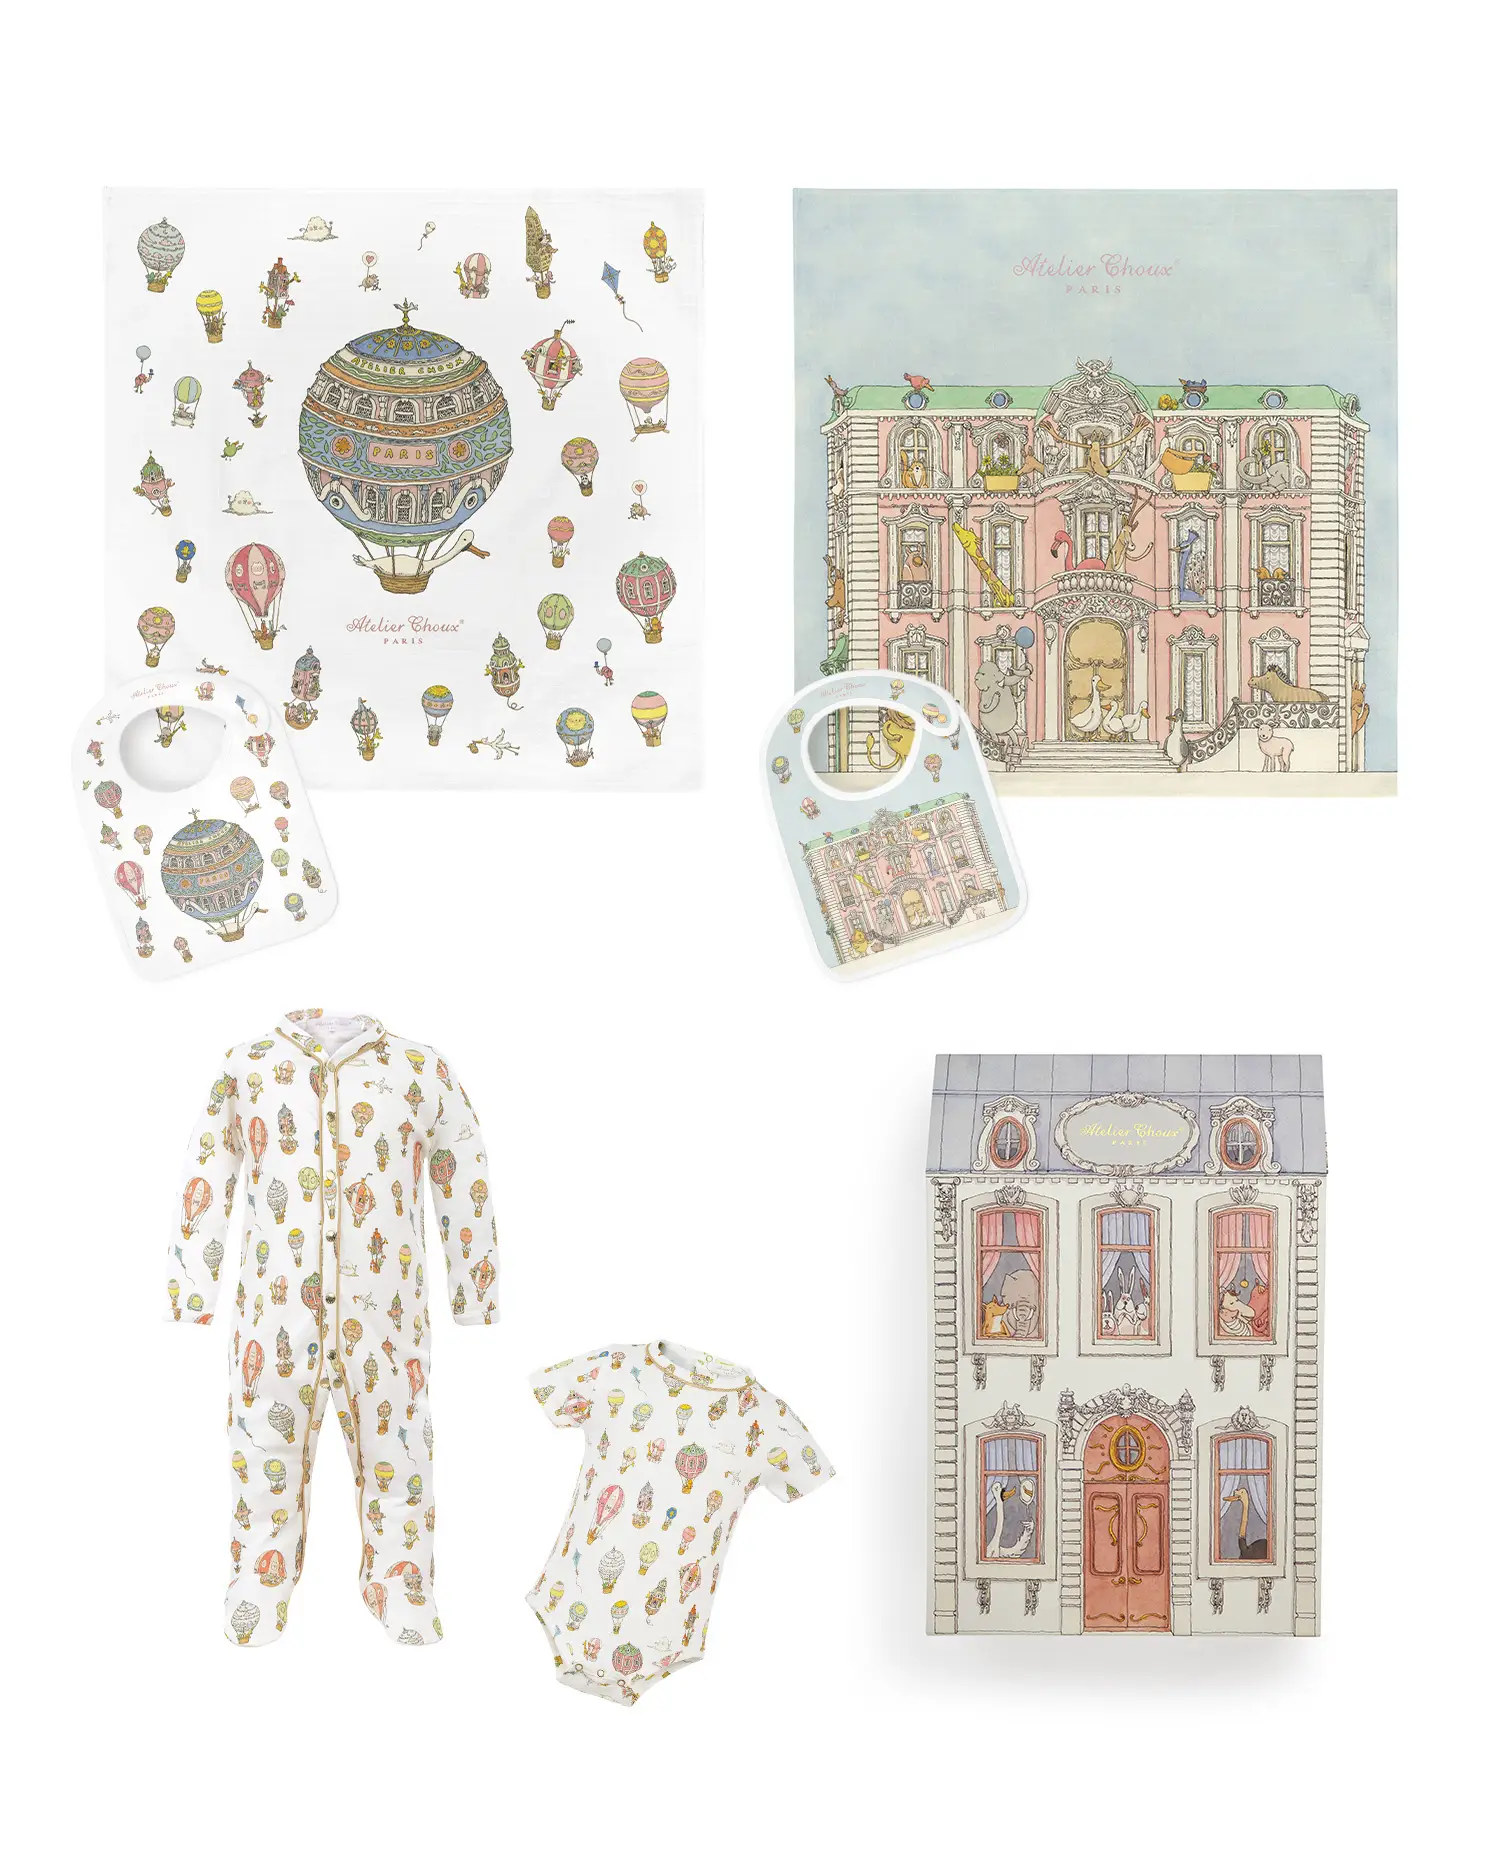
 Gifts
Gifts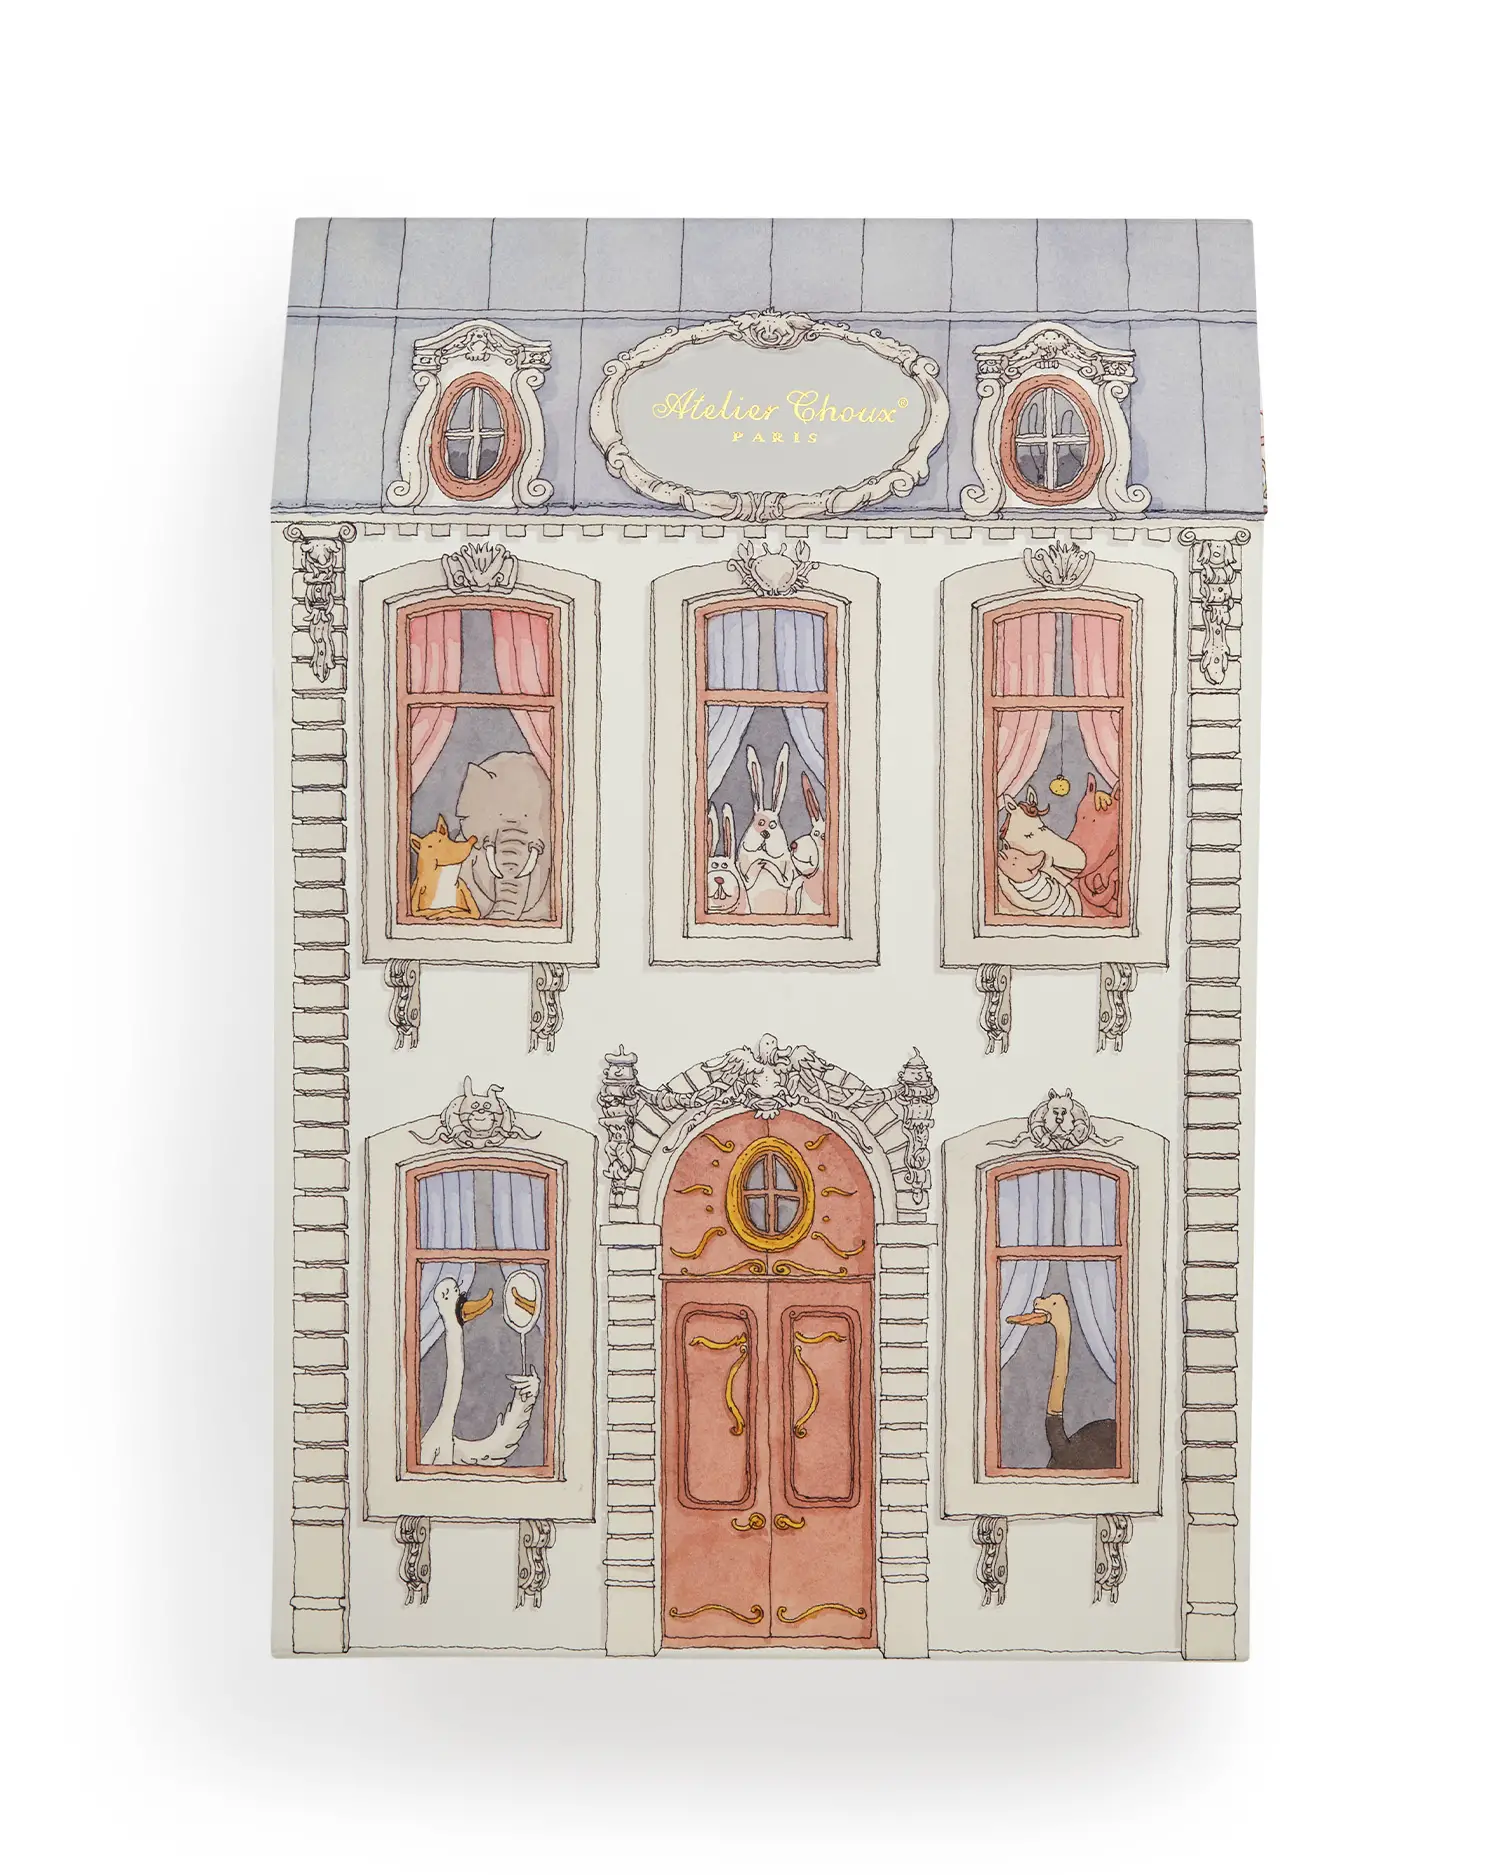

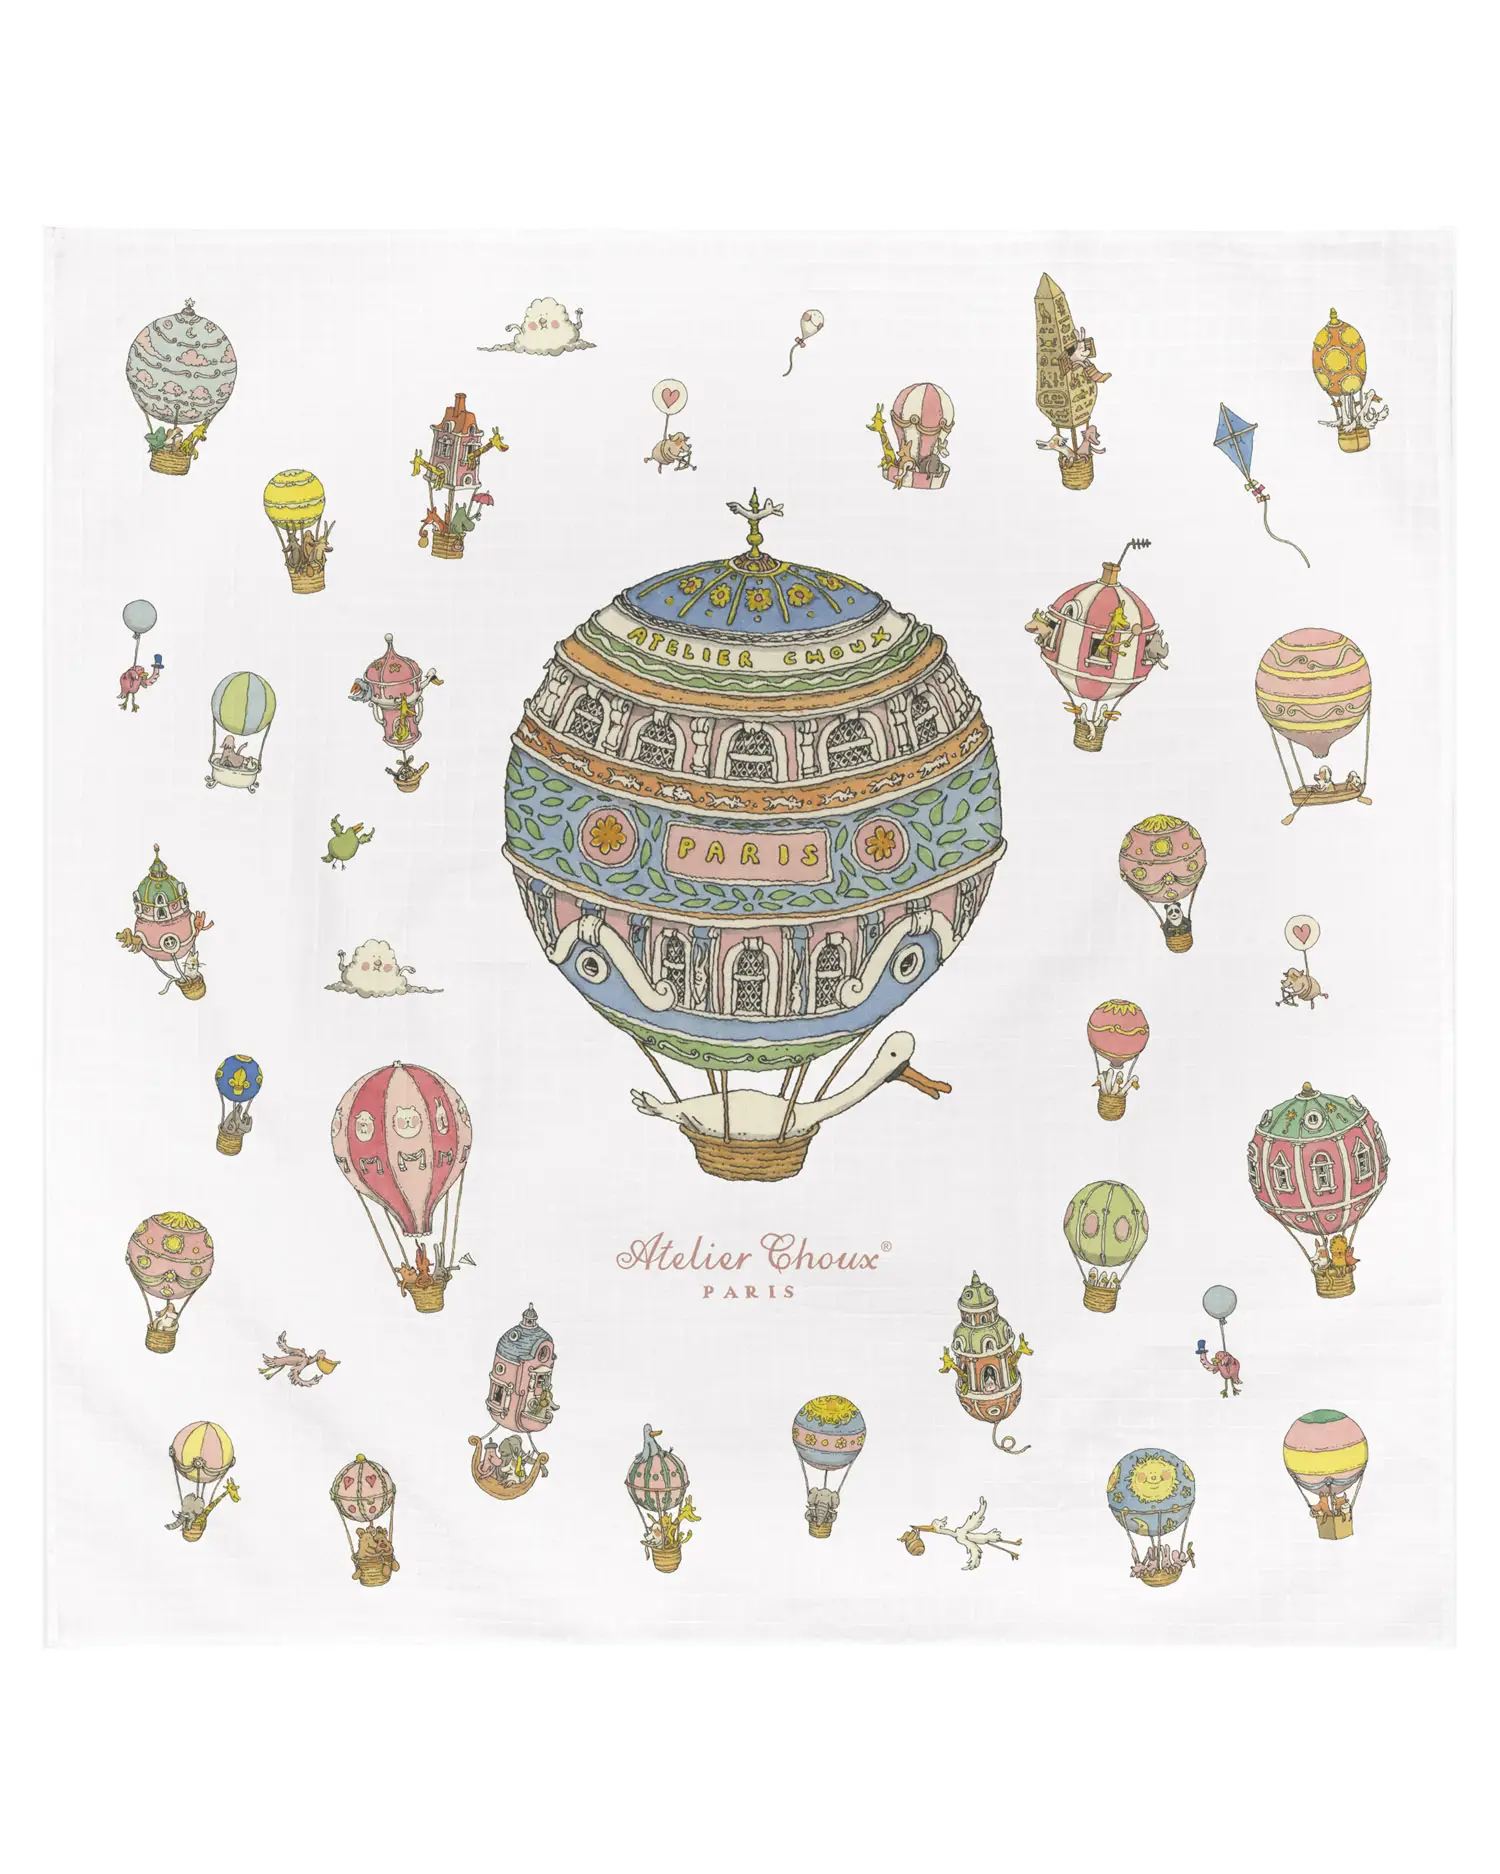
DIY: How to frame a carré
DIY
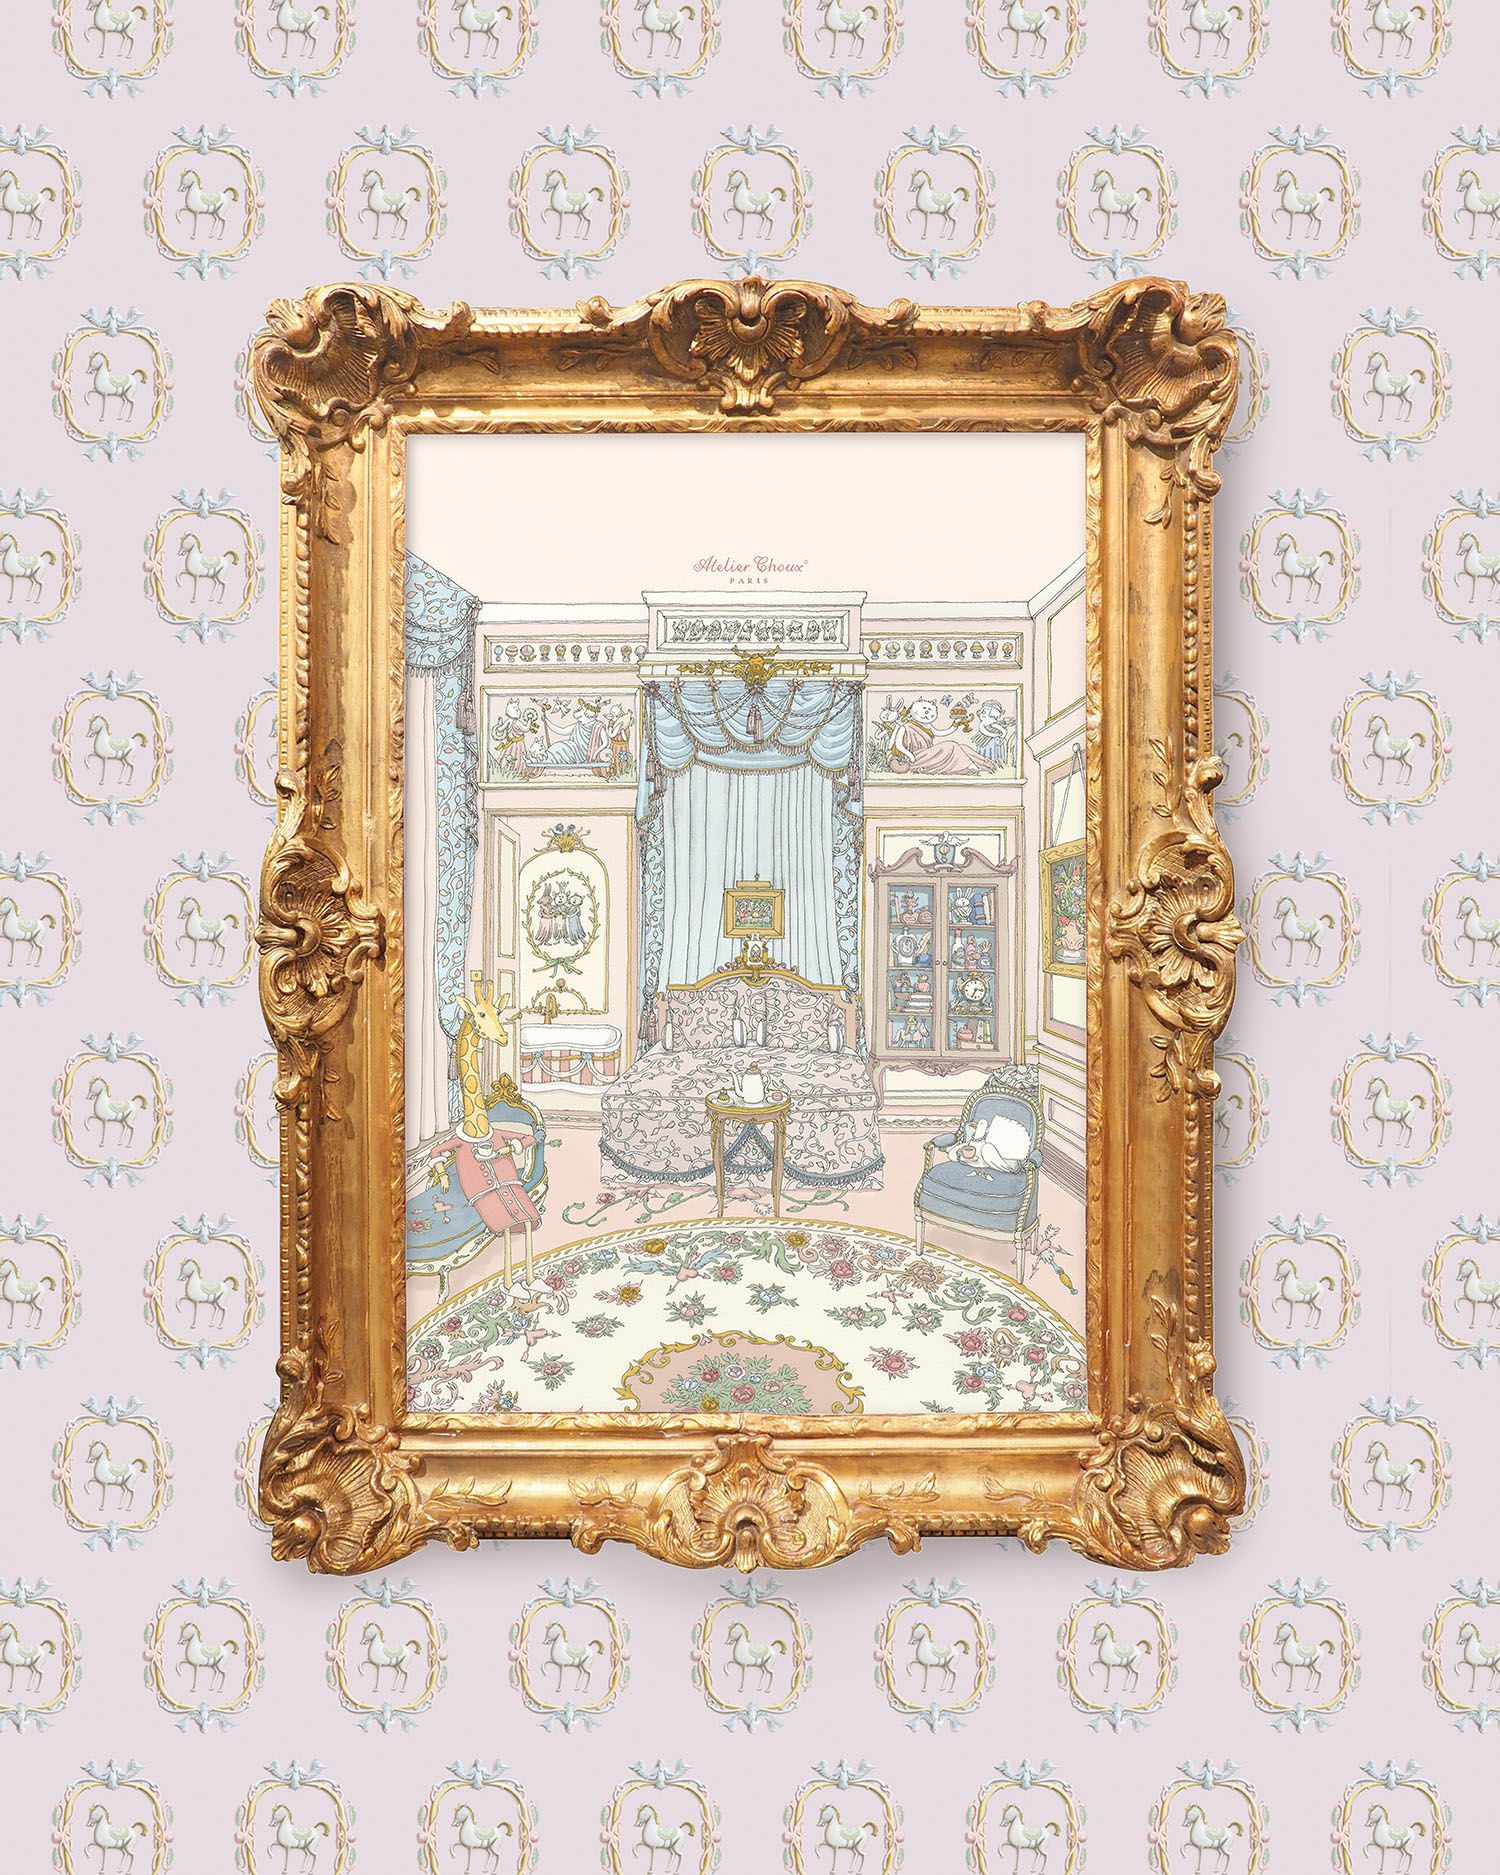
How to frame a carré?
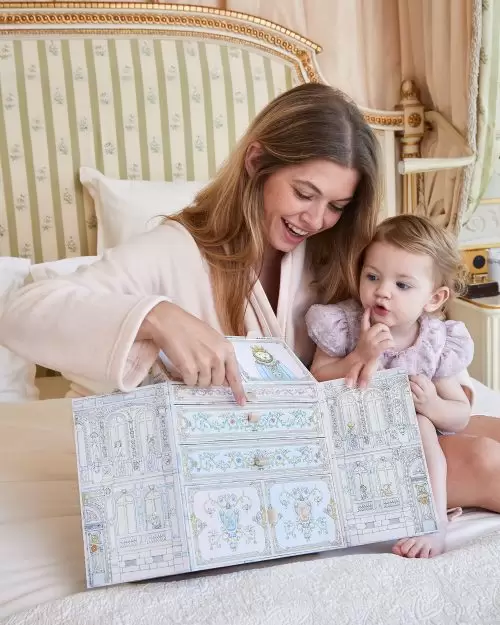
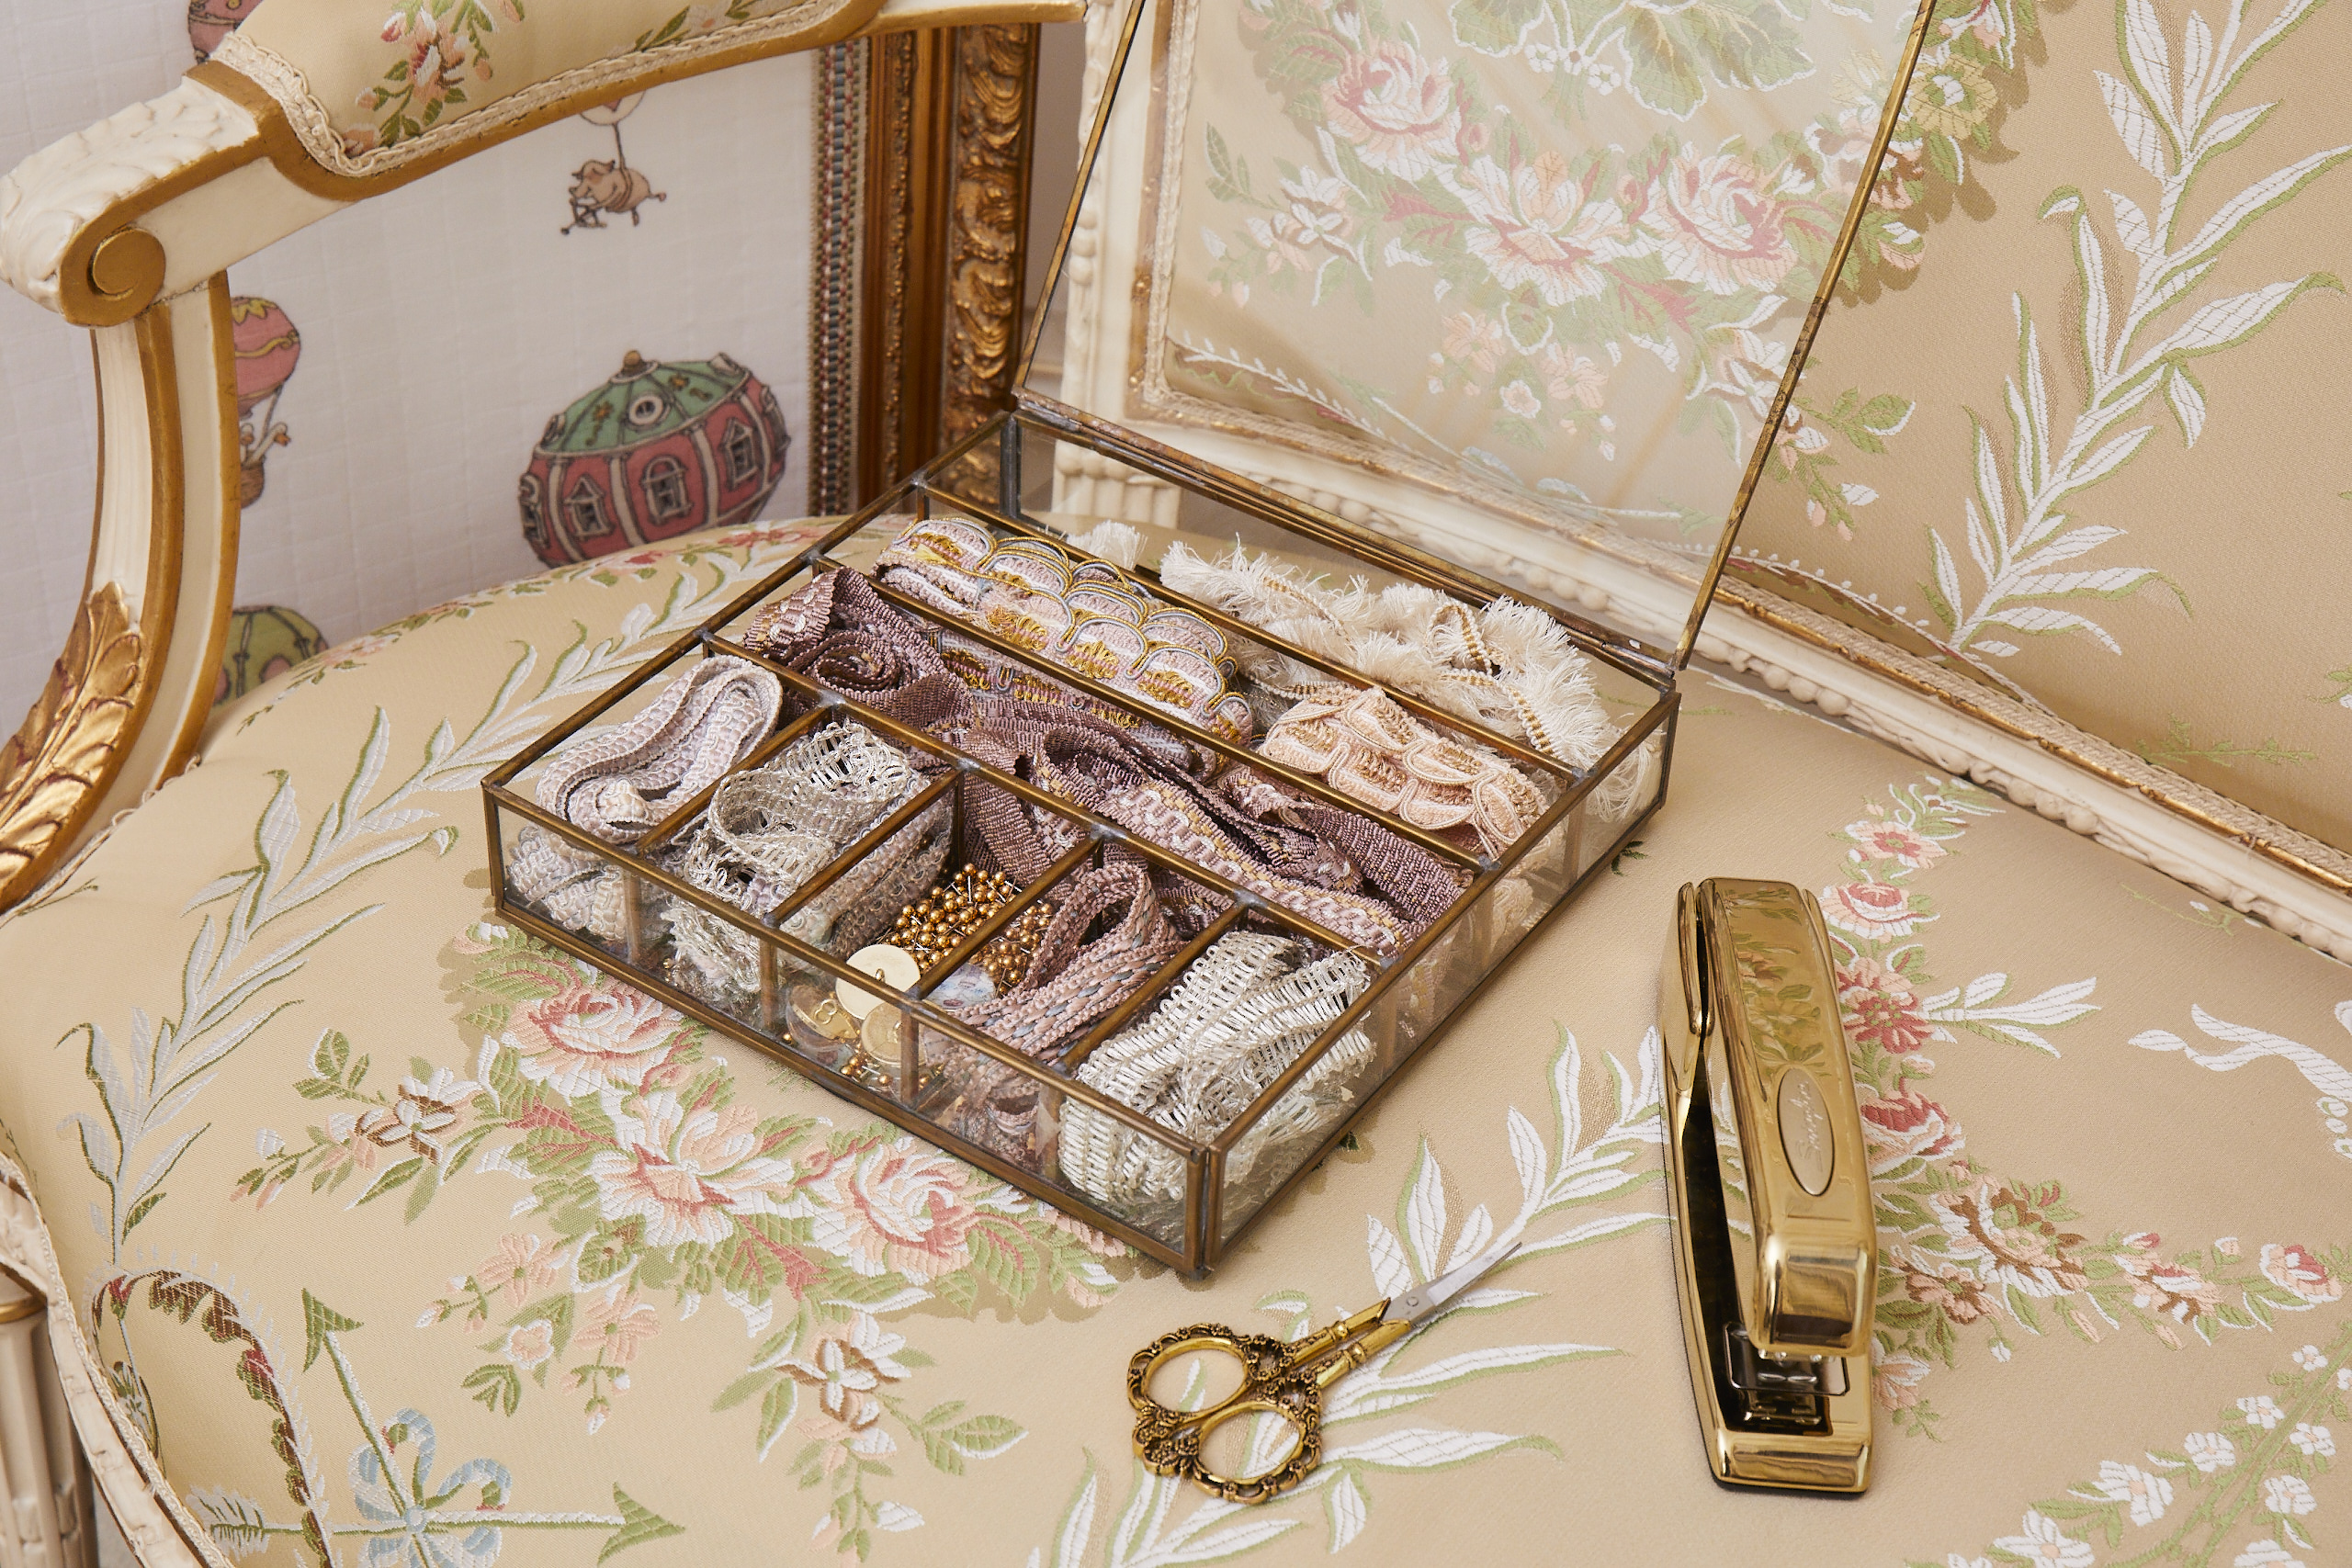
Today, we’re transforming a beautiful Atelier Choux carré into a stunning piece of wall art, all on a budget, with very little supplies and without any glass needed (which is much safer for a baby’s room)!
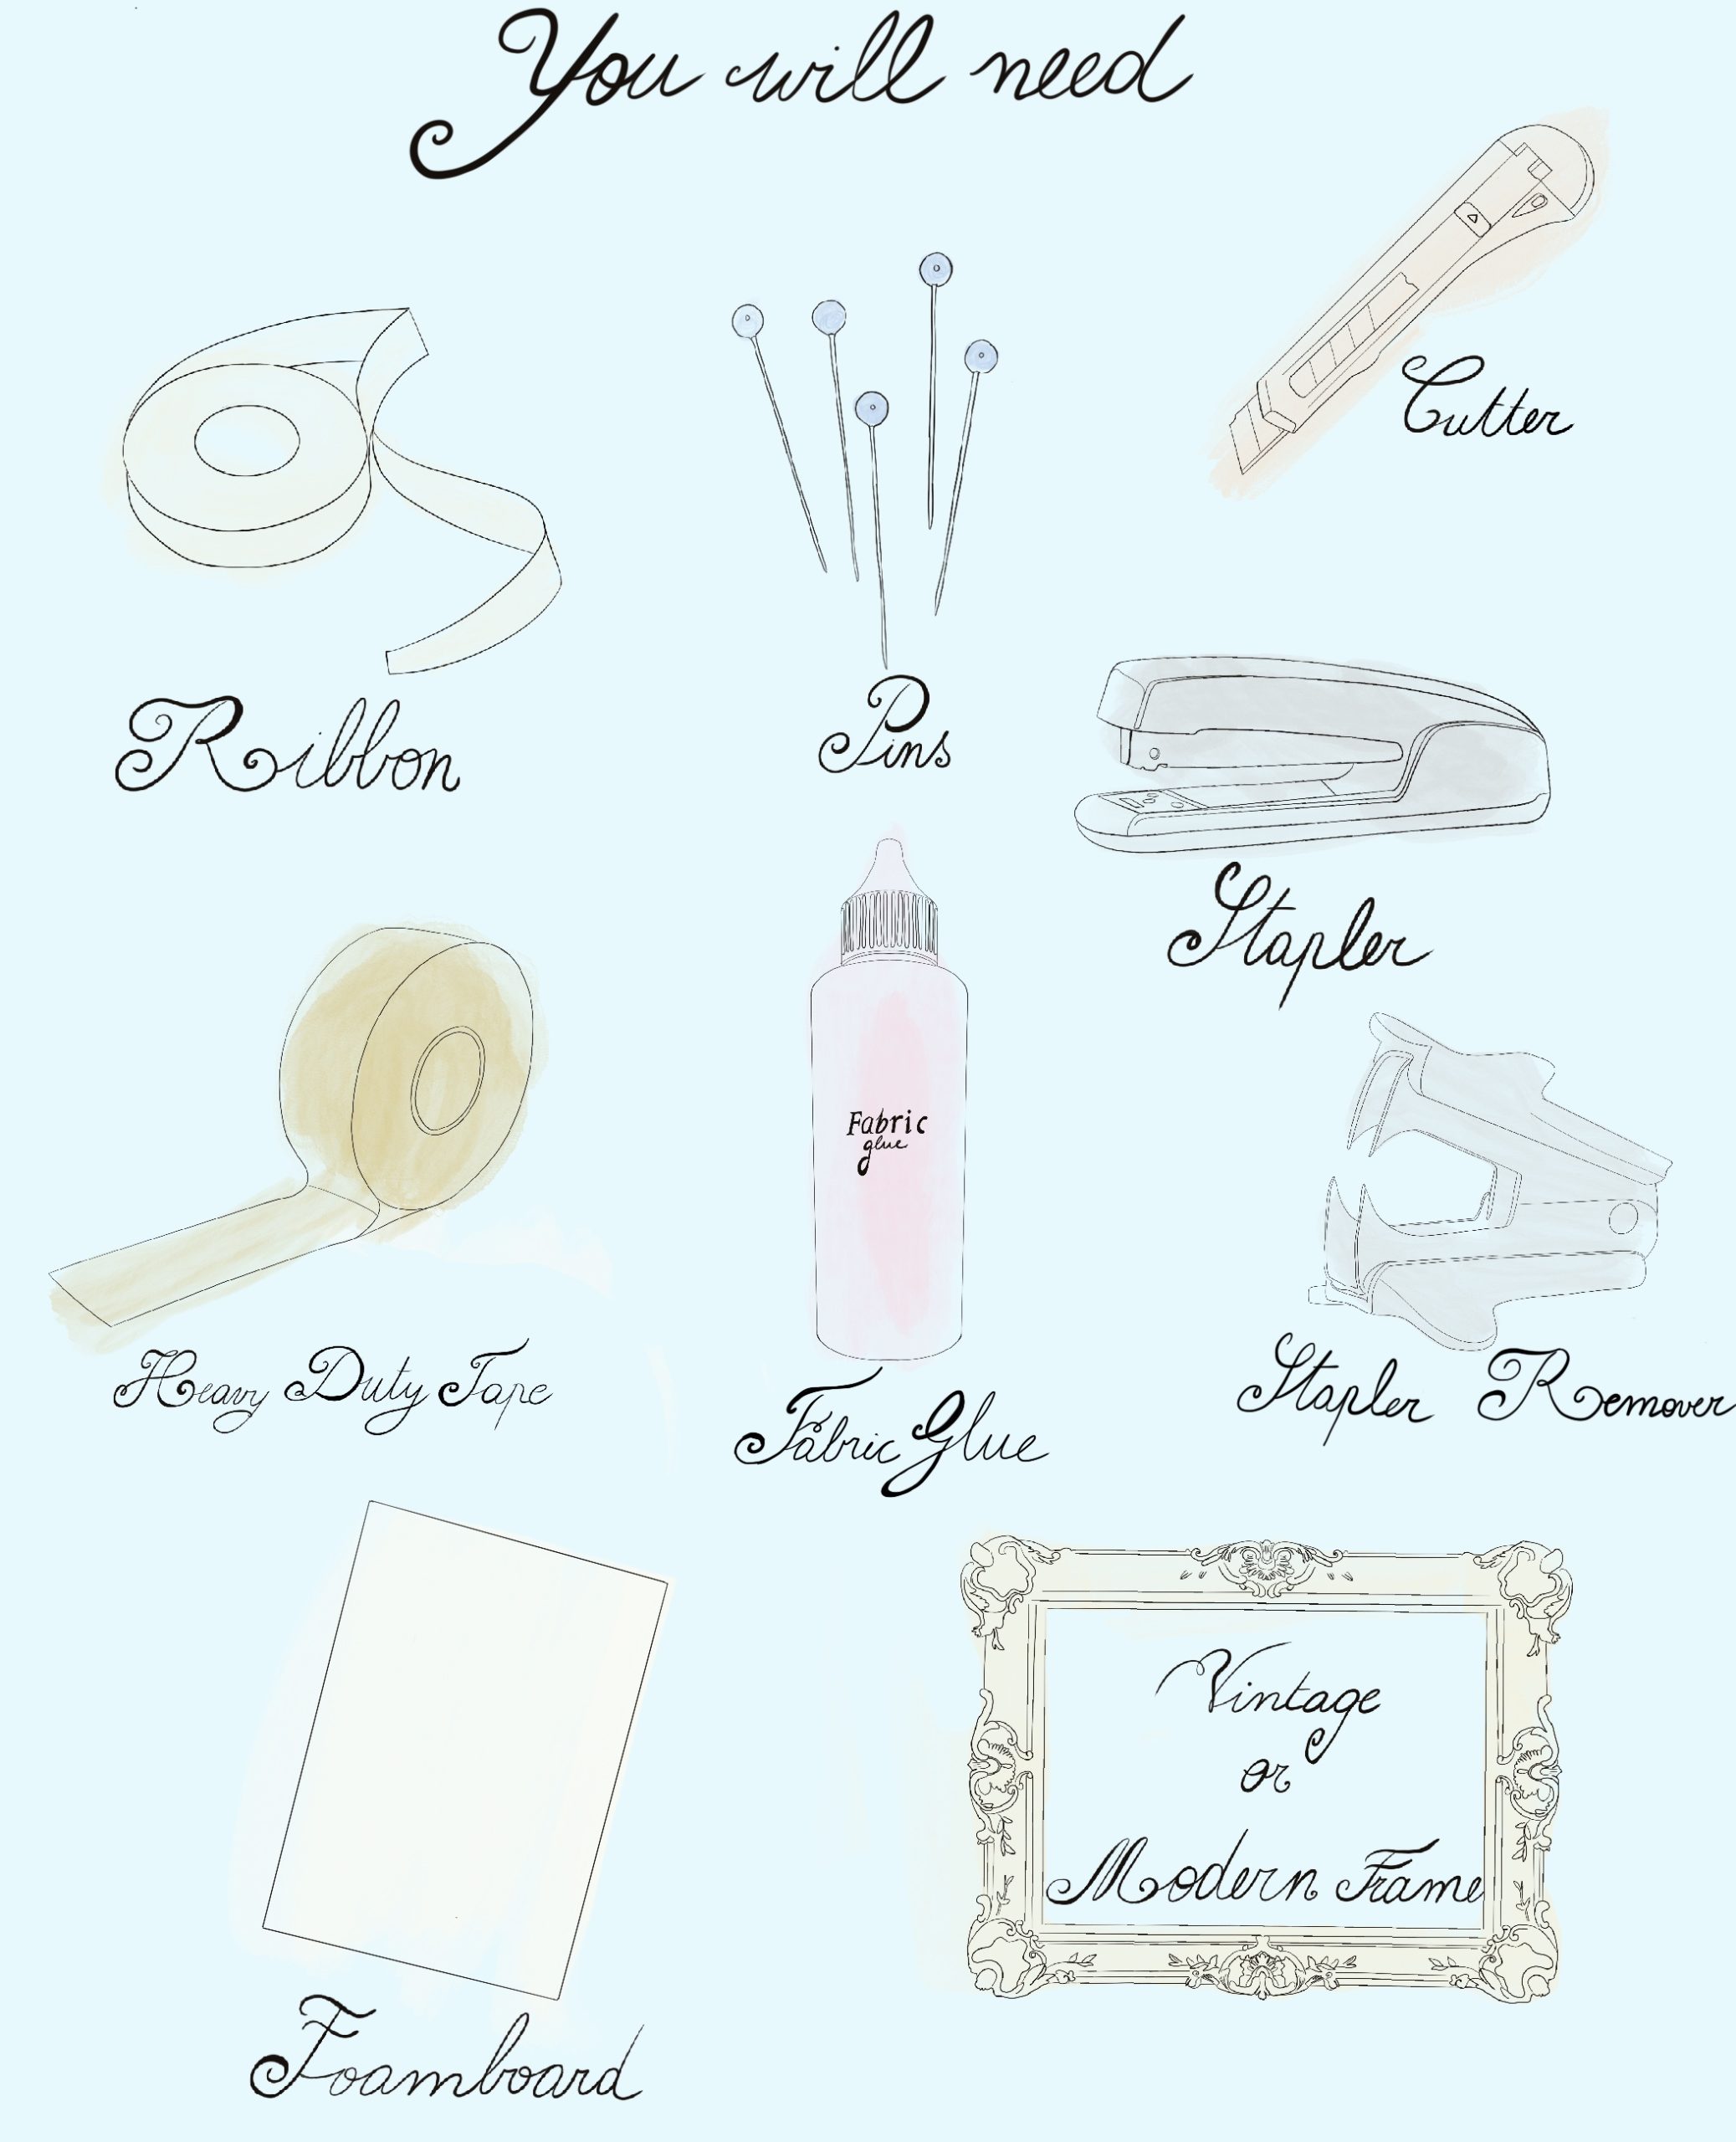
Here’s what you’ll need:
- A piece of foamboard or cartonboard (approximately 39 by 39 inches or 100cm x 100cm)
- A vintage or modern frame, same size as above. The foamboard or cartonboard will be cut down slightly to fit snugly inside the frame
- Pins
- A cutter
- A stapler
- A stapler remover (optional but handy)
- Ribbon. Quick tip – Thicker ribbon will be more forgiving in case you have to hide messy staples
- Fabric glue
- Heavy duty tape
Detailed instructions:
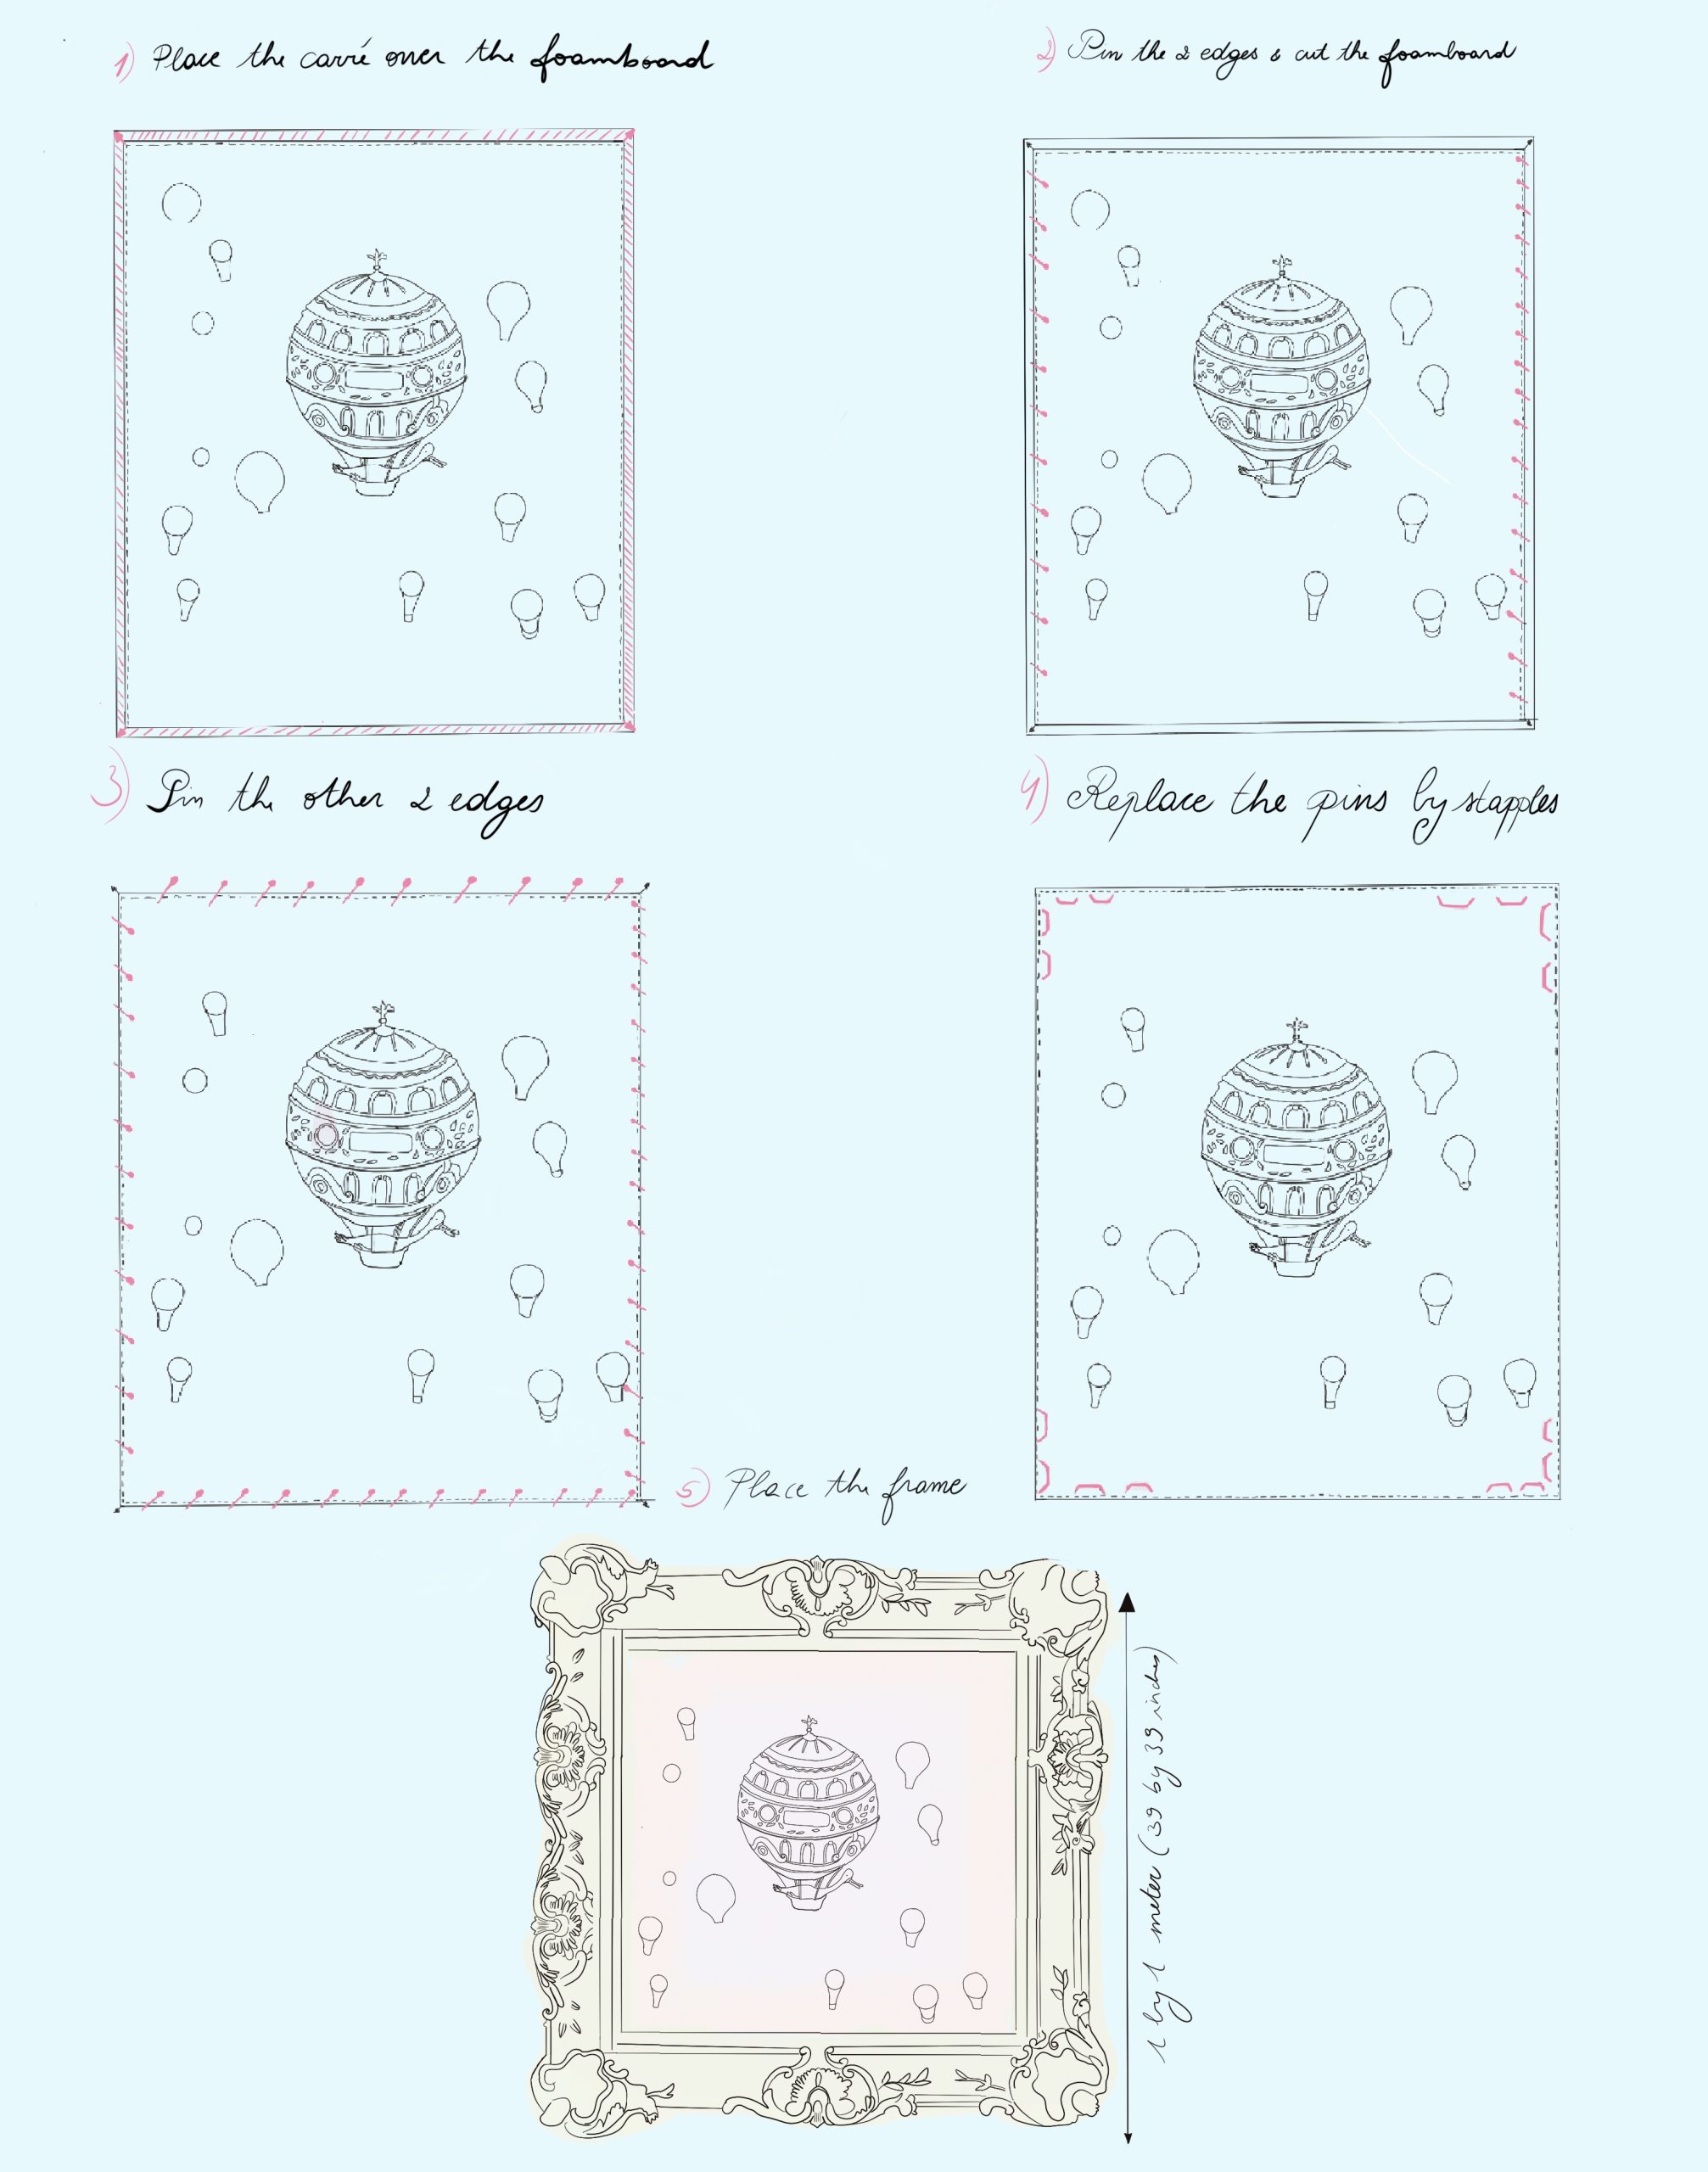
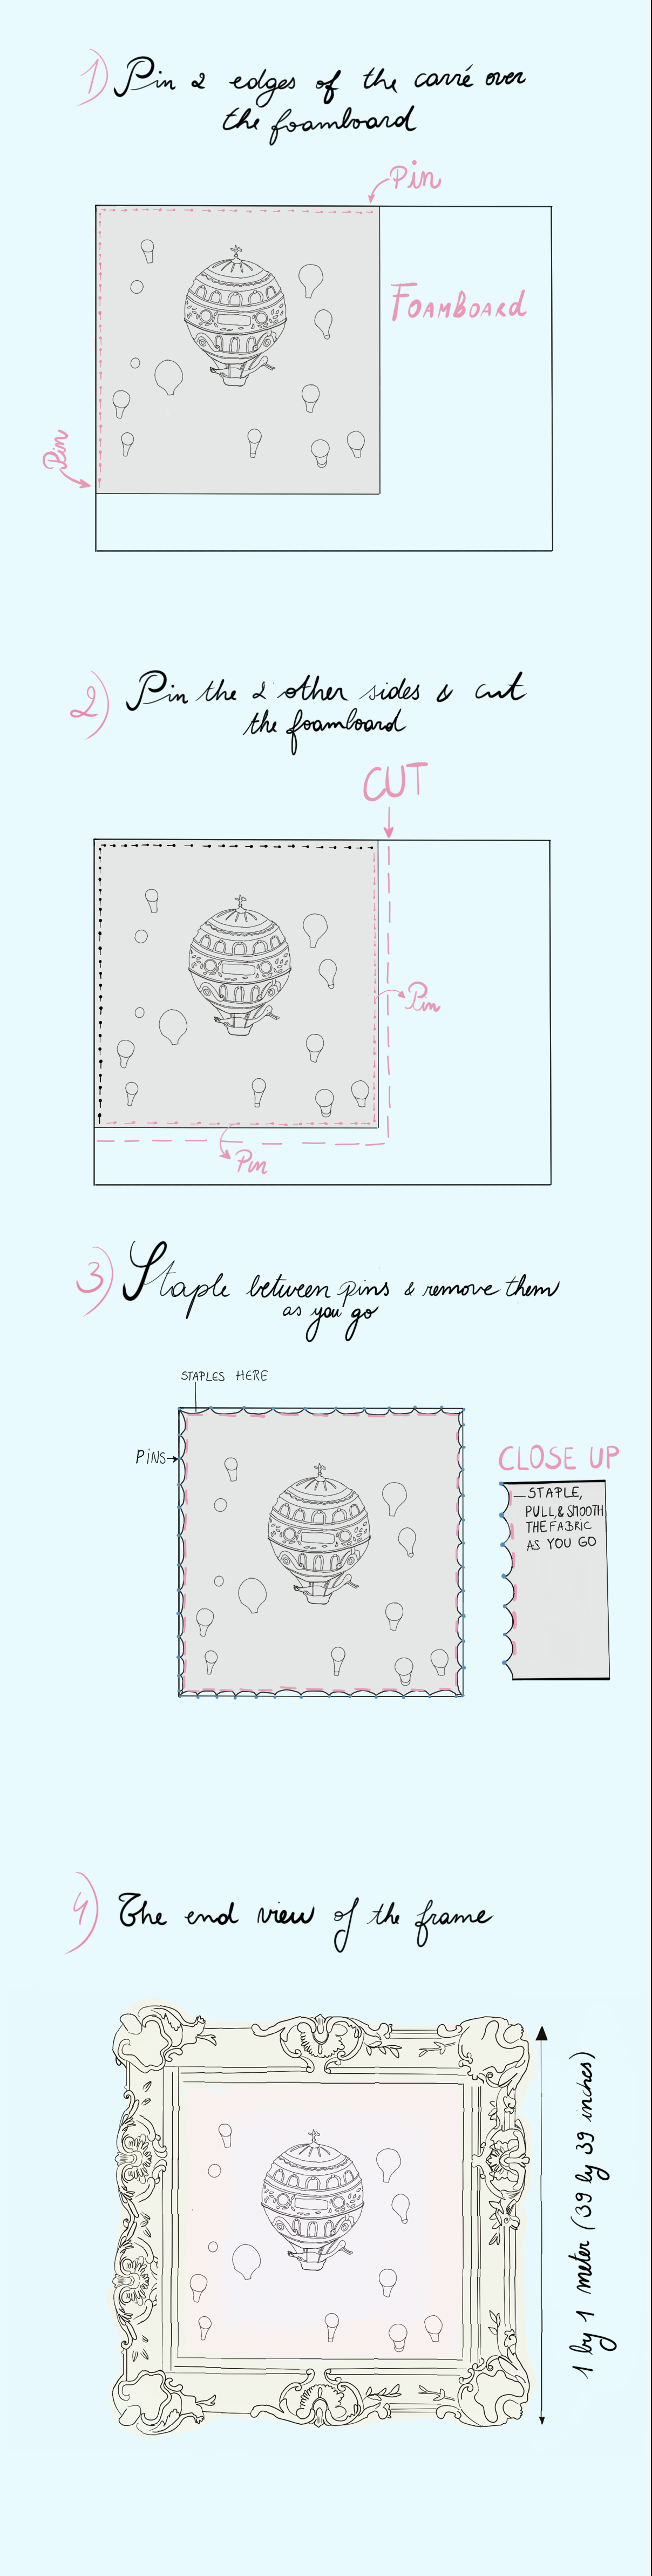
- Place your carre over a piece of foamboard and line up a corner against the foamboard’s corner. Pin the 2 straight edges in place.
- Pin the other 2 edges and cut the foamboard to fit just under the carre. The foamboard should be slightly smaller than the carre. Once the carre is pinned on and the foamboard is cut, test the foamboard to be sure it fits in the frame.
- Once all the pins are in place and you have checked that the foamboard fits nicely in the frame, you now want to replace all the pins with staples. Pull the fabric taught towards the side of the foamboard, smoothing the carre as you go. We recommend stapling at just a few points on each edge, placing the staples far apart, until you know you are good on all sides. The idea is to get the staple as close to the edge as possible on all sides. Don’t worry about being perfect though, the ribbon is going to side the staples at the end. Remove the pins as you go.
- Don’t hesitate to remove staples on 1 edge if you find that they are not close enough to the edge on another side. Pull the fabric taught and smooth from the center, removing pins as you staple. Add a lot of staples on each side once you are comfortable with the carre’s position.
- Position the foamboard into your frame, add heavy duty tape on the back.
- Add vintage ribbon with fabric glue, to cover any visible staples.
And voilà!
Your beautiful Atelier Choux carré is now a stunning piece of wall art, it can be in your kids room, above the bed or anywhere you’d like. Ready to add a touch of Parisian style to any room.
Super easy! With a little creativity and these simple materials, you can turn your favorite carré into a unique and affordable statement piece.